
Cloud storage has become immensely popular, especially for hosting hefty files such as images and video. There are numerous benefits to storing your content on a dedicated server, and for offering downloads that are both consistently quick and secure, cloud storage is vital.
We’ve developed our Sell Media plugin to help you sell images and video on your WordPress website – and by purchasing our Amazon S3 extension, you’ll have a full-featured solution for integrating with Amazon’s own cloud hosting service.
In this post, we’ll discuss what the Amazon S3 service is and why it’s important, before walking you through the installation of the S3 extension. Finally, we’ll show you how to configure both your Amazon account and the Sell Media plugin for optimal use.
What Are the Amazon S3 Service and the Sell Media S3 Extension?
Amazon S3 is a cloud-based storage service (similar to Dropbox) that enables you to store and retrieve files from anywhere with internet access:
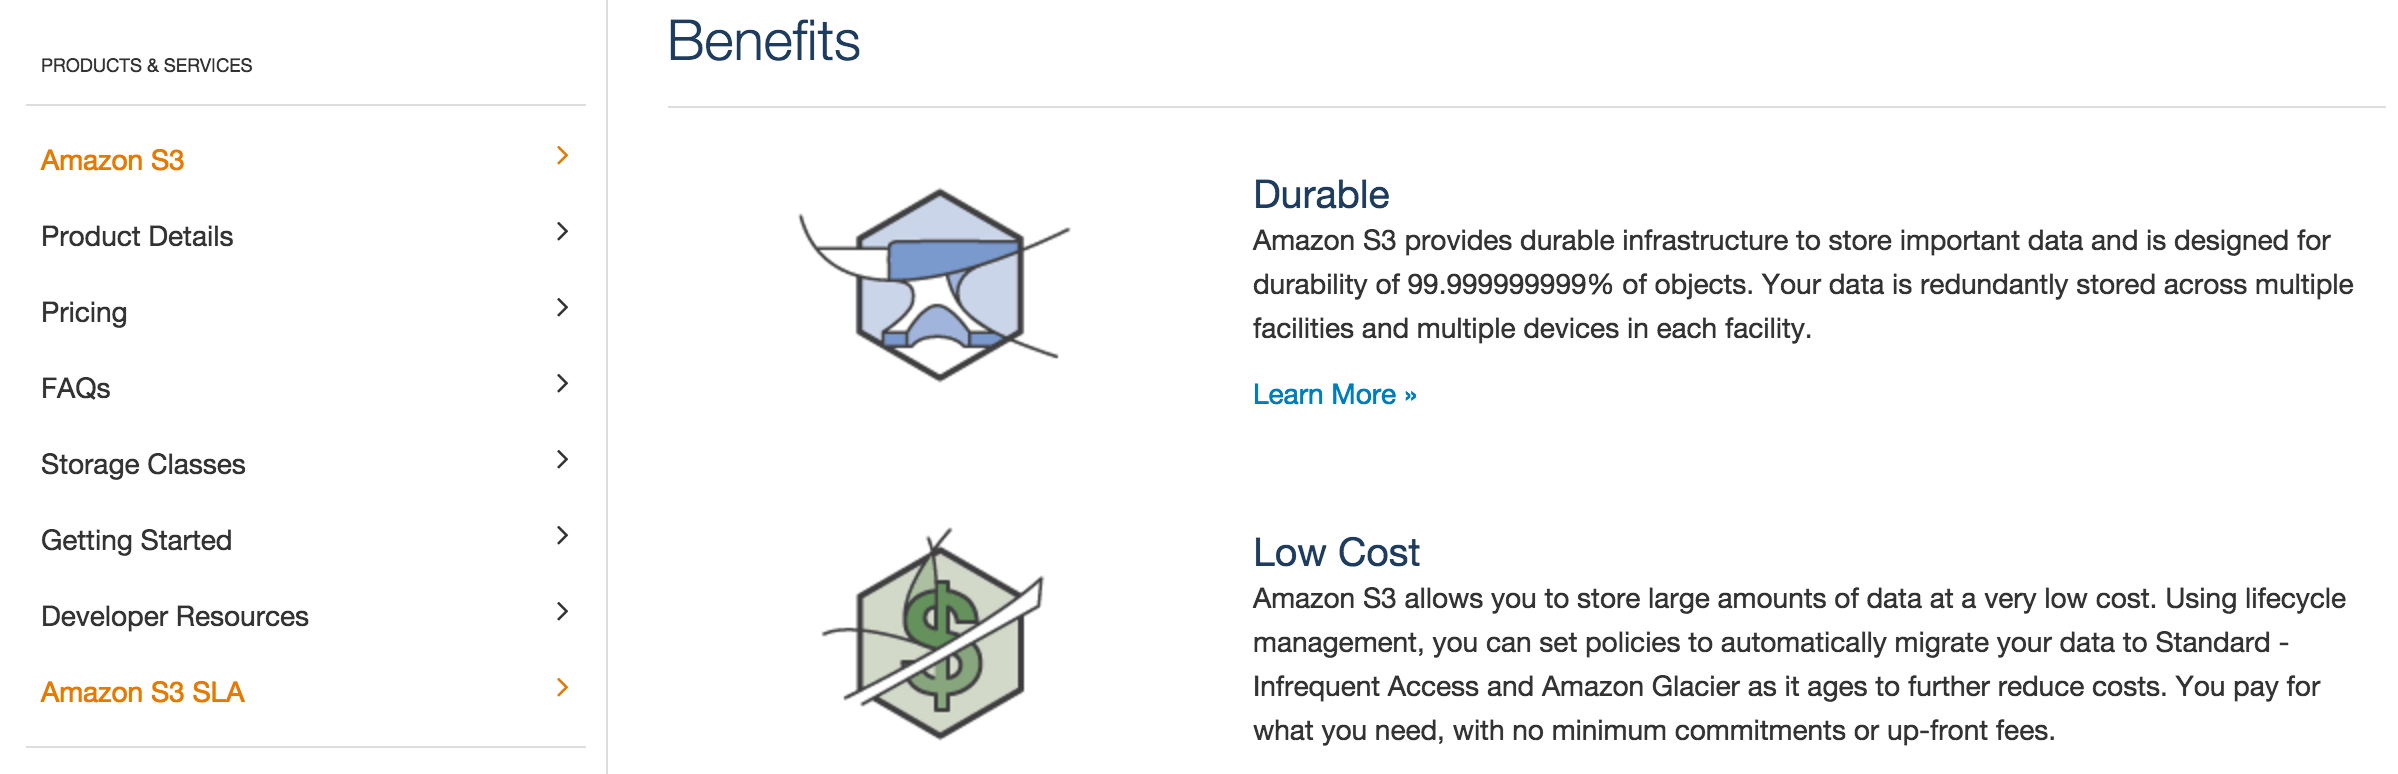
Cloud storage is ideal for hosting large images or video, and providers such as Amazon can offer a consistent download speed for end users – with increased file security – at a very reasonable cost. For more on the pros and cons of cloud-based storage, take a look at this article.
The Sell Media S3 extension is an add-on for our Sell Media plugin that offers transparent access to your Amazon S3 account, and enables users to download files direct from Amazon’s servers after purchase.
Now that we’ve looked at both the Amazon S3 service and the S3 Extension, let’s go through the installation process.
Installing the Sell Media S3 Extension
In order to use the Sell Media S3 extension, you’ll need to download and install the Sell Media plugin – the instructions for which can be found here – and purchase a Graph Paper Press subscription. This enables access to the extension itself, among other benefits.
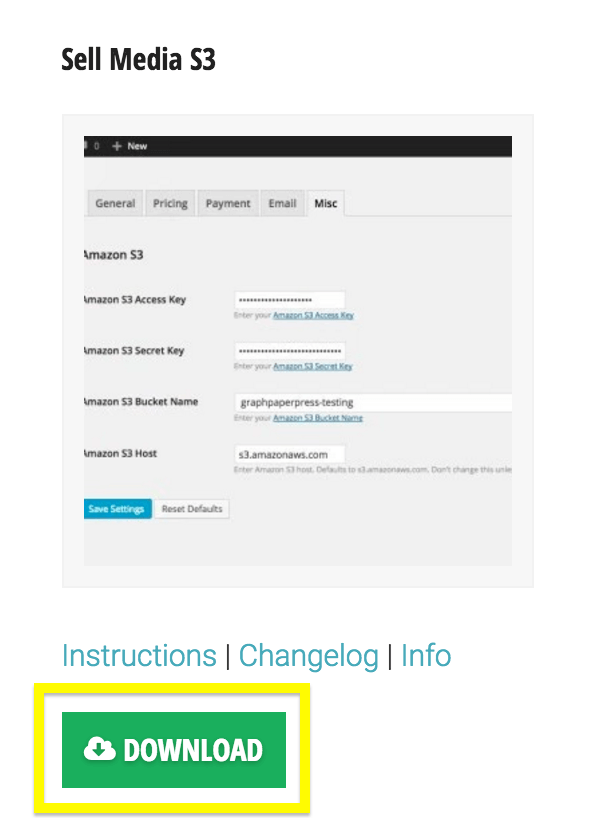
Once you’re set, navigate to your Graph Paper Press dashboard, locate the S3 extension, and click the Download button – this will download the ZIP file you need to your computer:
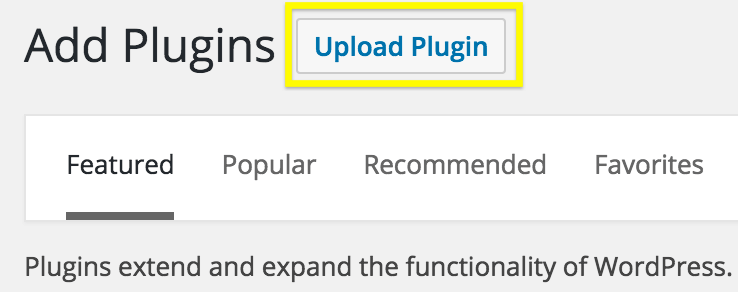
From here, navigate to Plugins > Add New on your WordPress dashboard, and click Upload Plugin at the very top of the screen:
In the dialog box that appears, choose your ZIP file, and click Install Now…
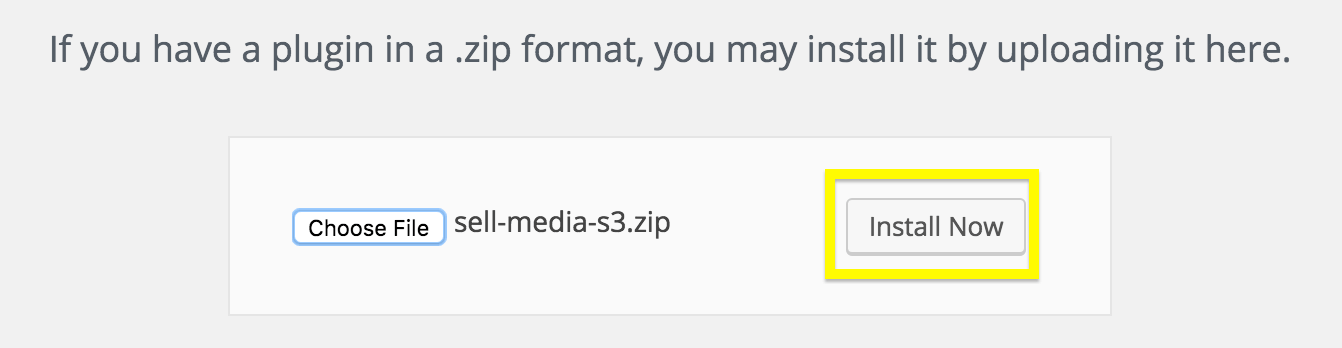
…and your plugin will be successfully installed:

Once the plugin is installed and activated, you’re ready to move onto configuring your account.
Configuring Your Amazon S3 Account
Firstly, you’ll need an Amazon Web Services account. To create one, navigate to the homepage, and click Create an AWS Account…
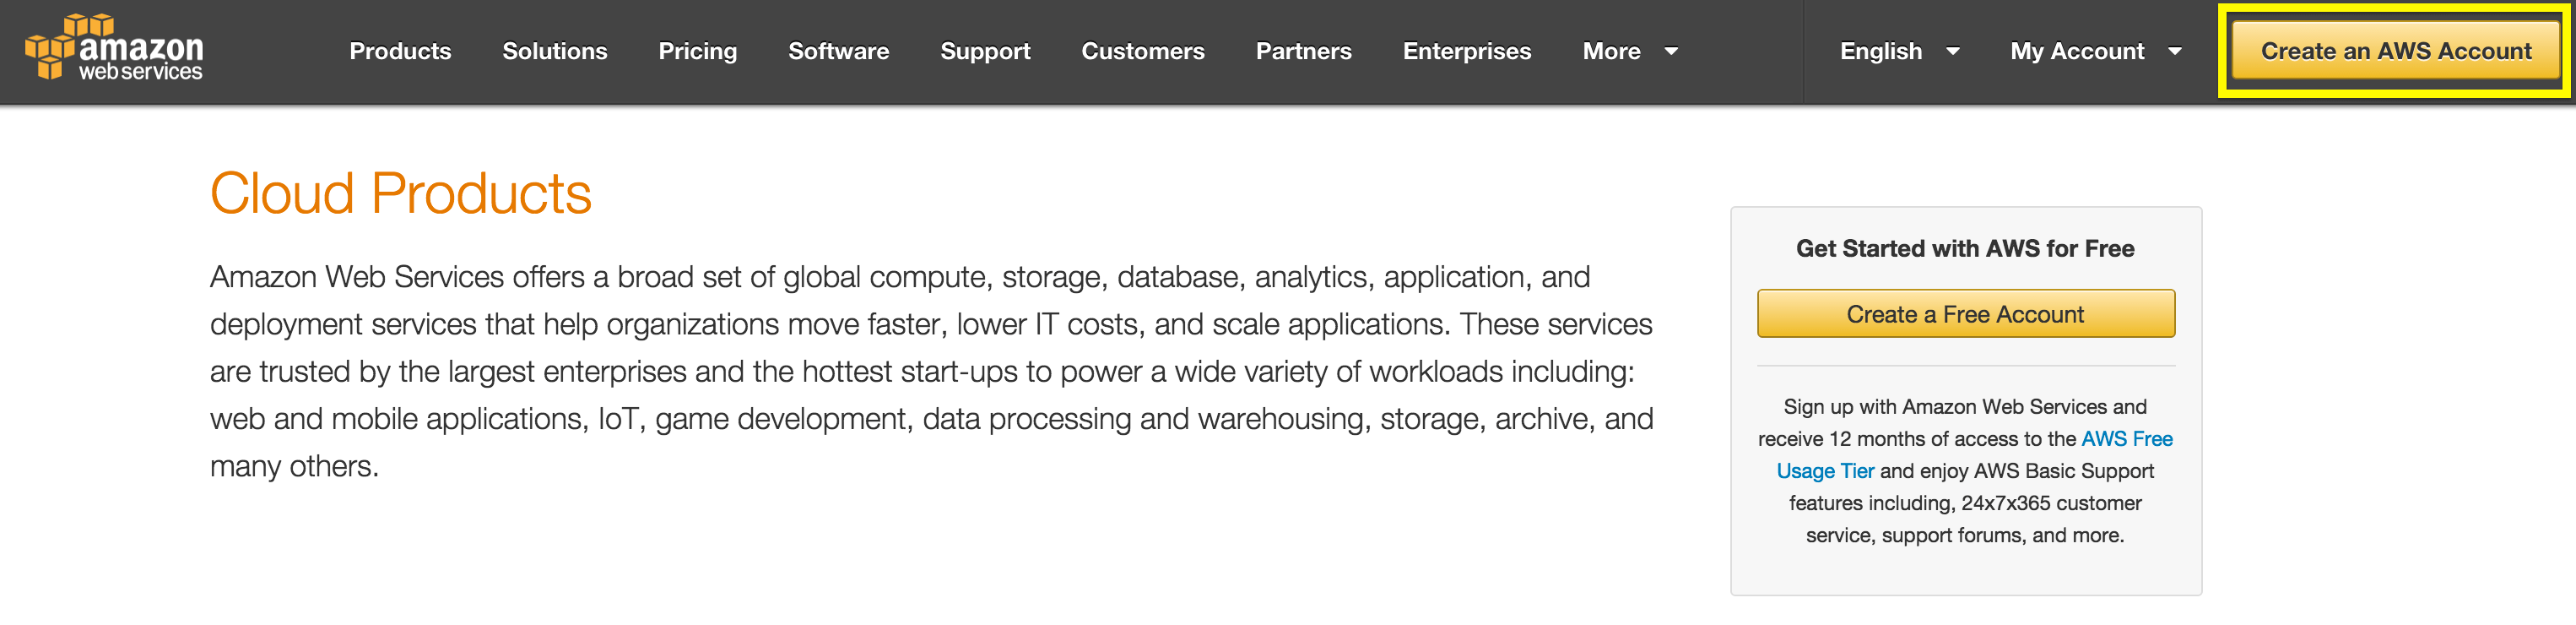
…before going through the five-step account creation process, including filling out your personal information, verifying your identity, and choosing a support plan.
Click Complete Sign Up on the confirmation screen, then log in again, where you’ll be taken to the AWS Management Console:
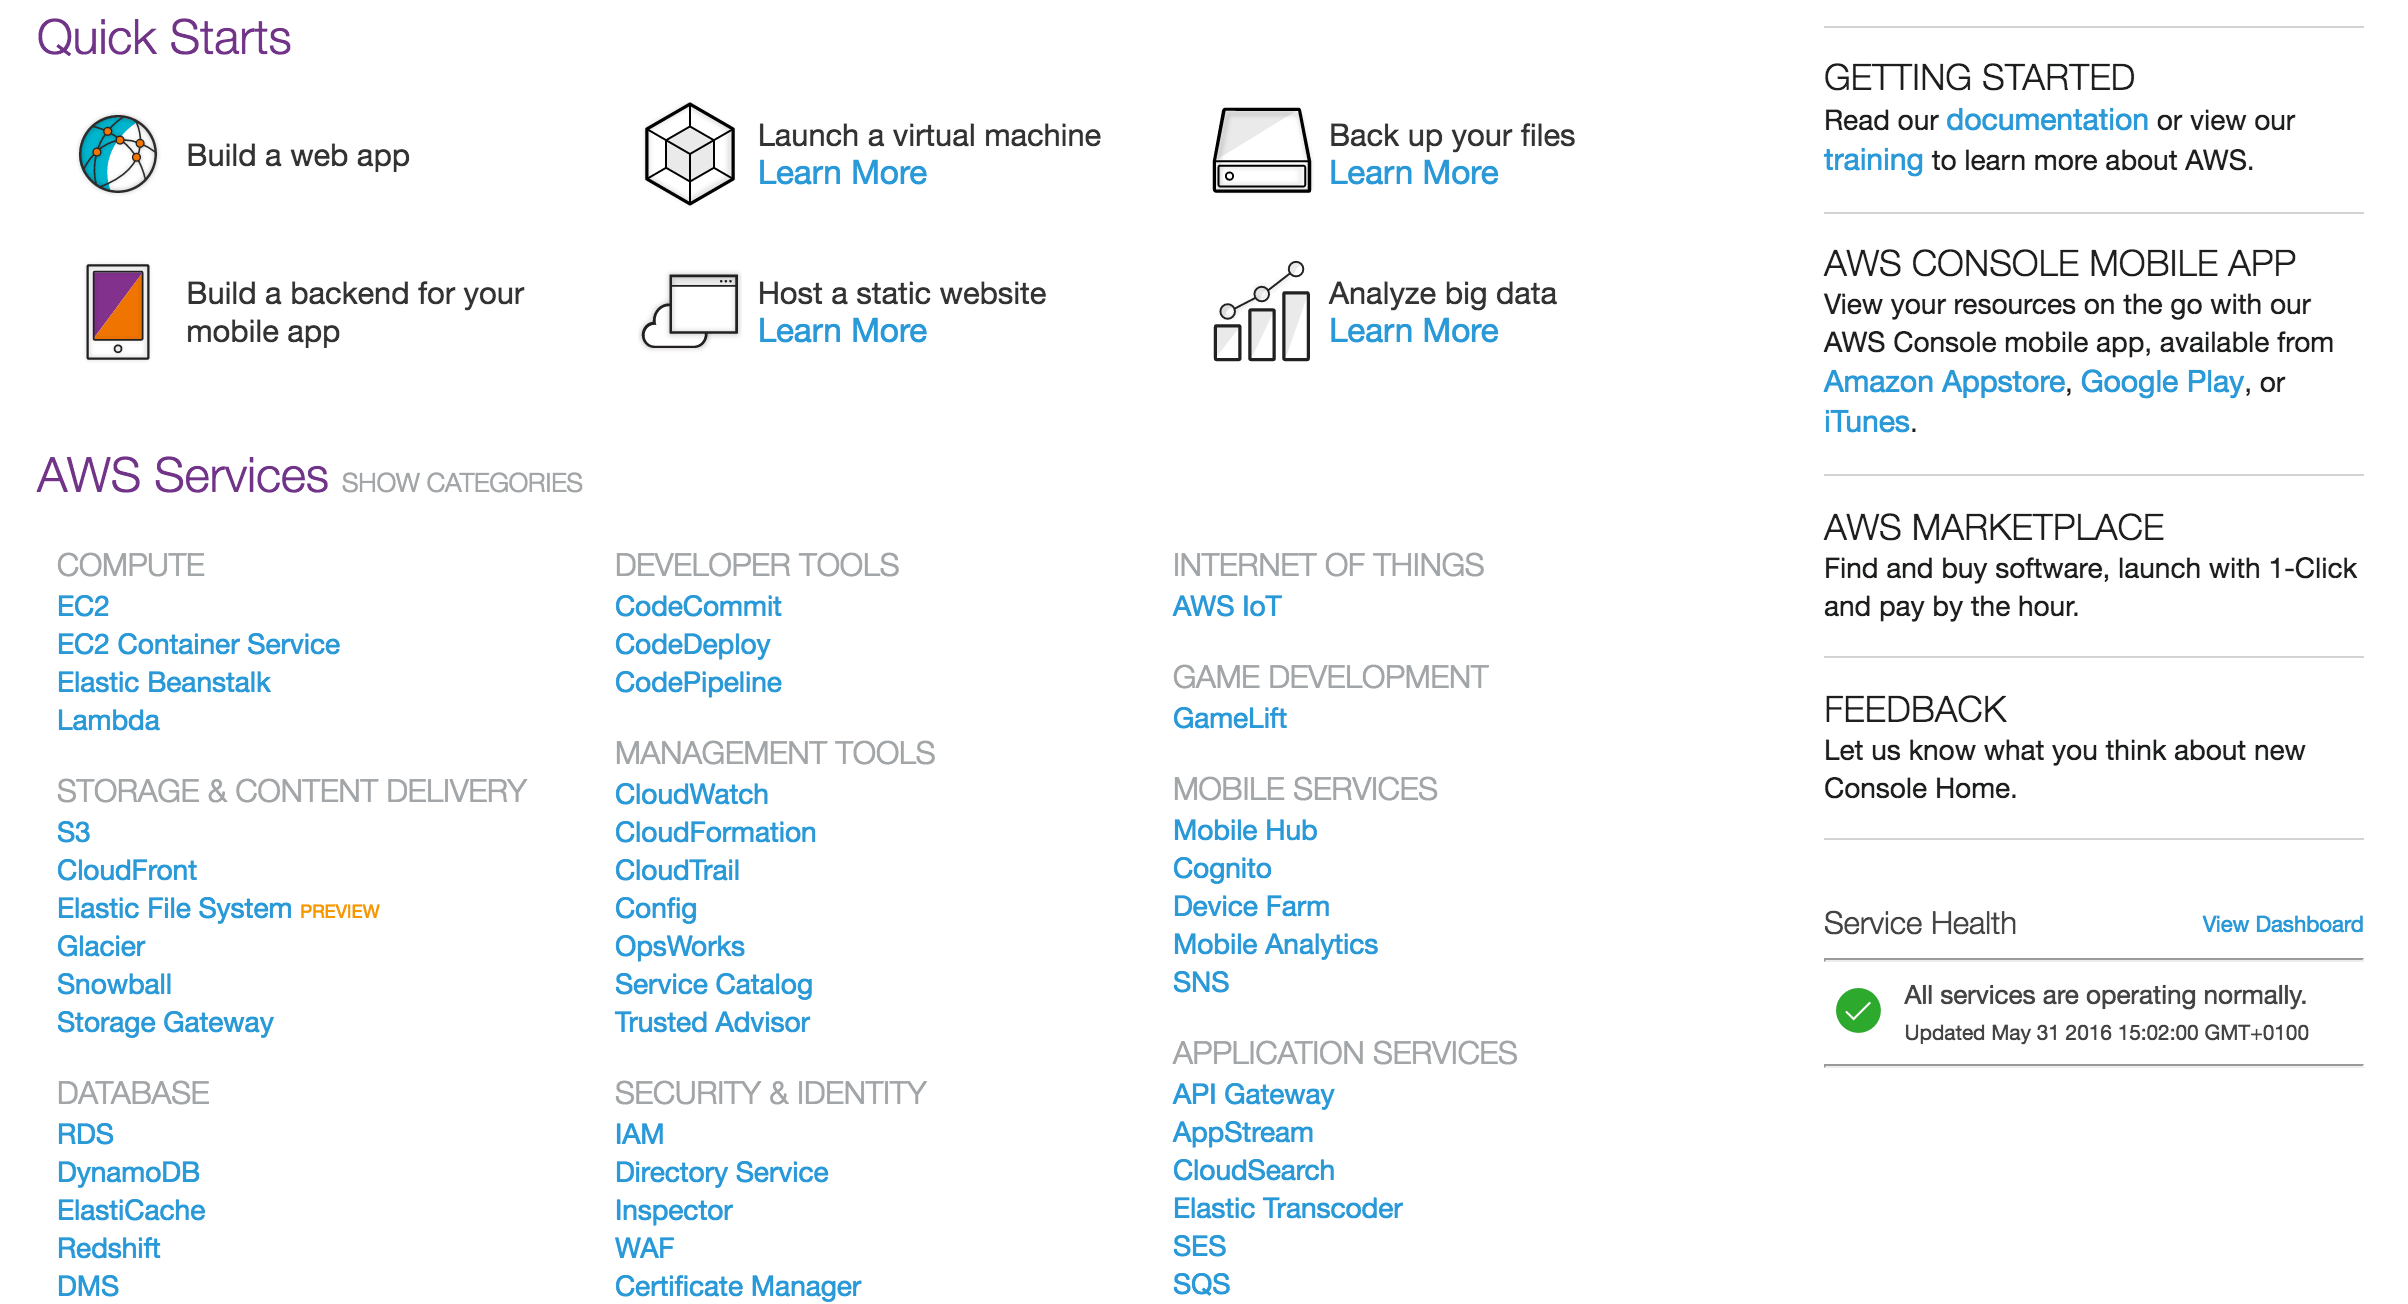
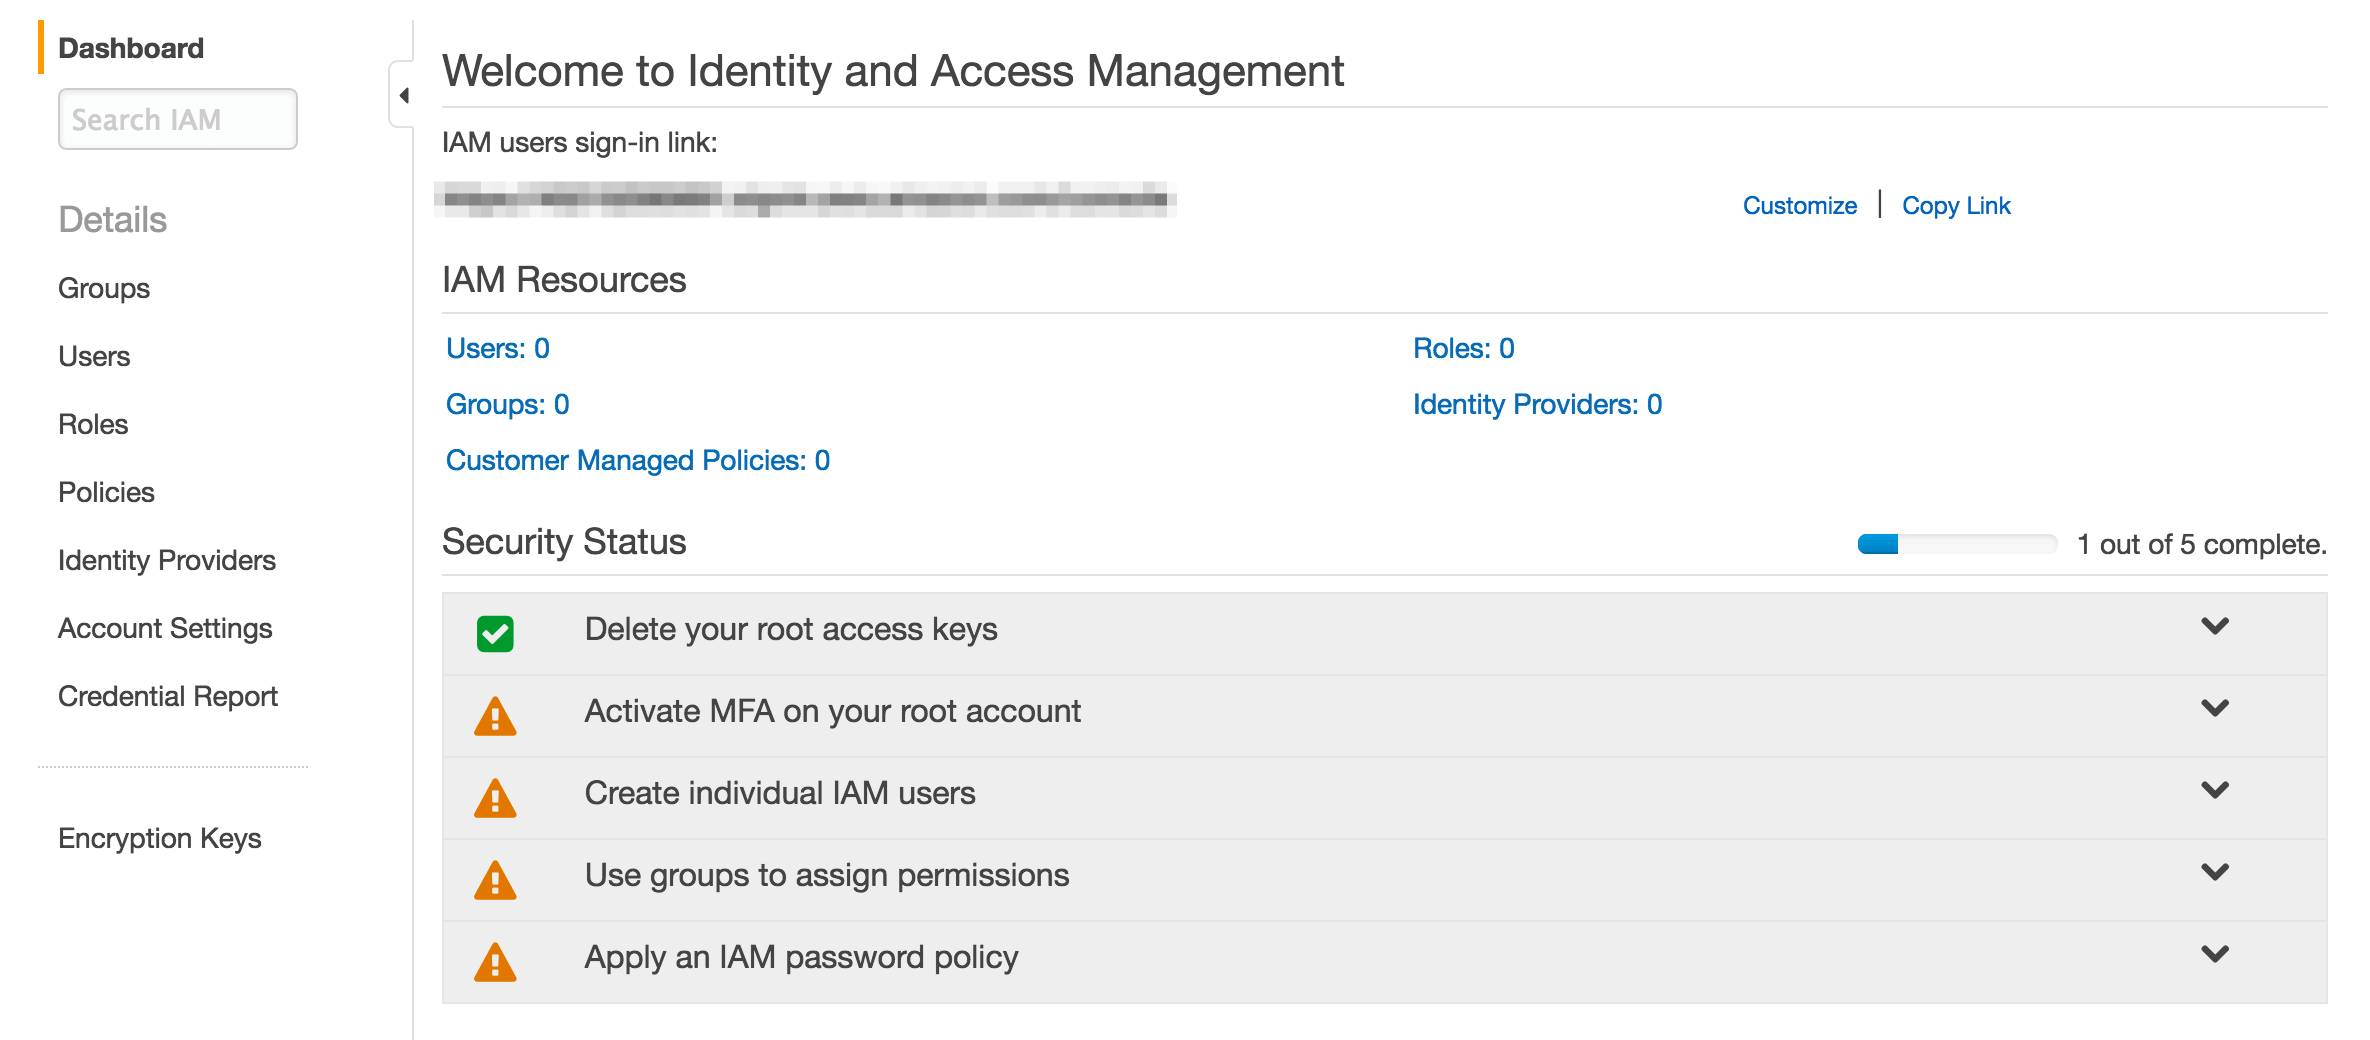
Before we access the S3 service itself, we need to set up a user. Navigate to IAM under the Security & Identity section, where you’ll find a dashboard screen:
Open the Users tab on the left hand side, and click Create New Users on the next screen…
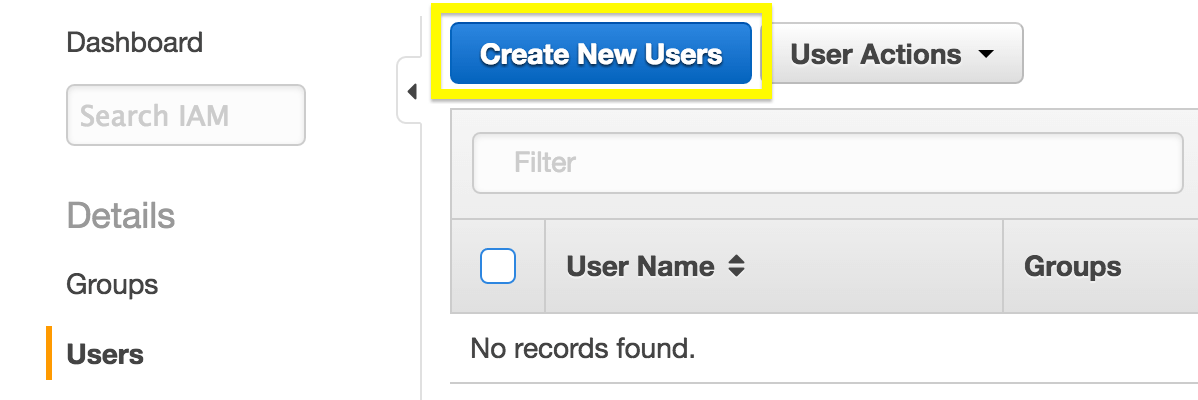
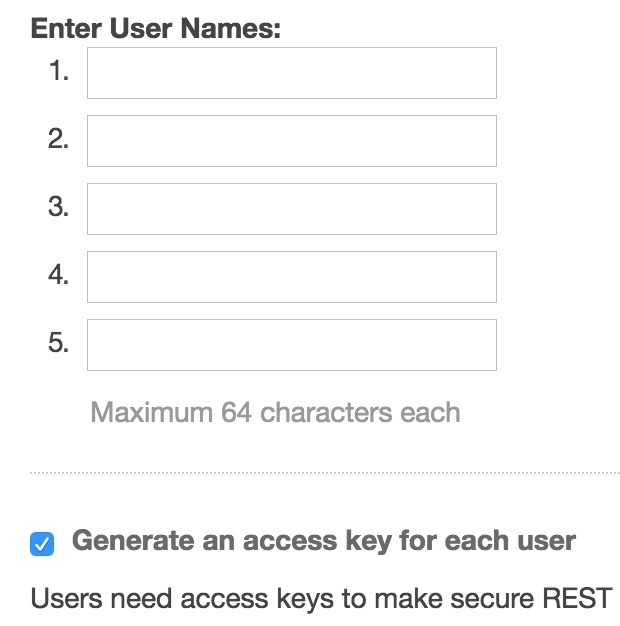
…where you’ll create a username, making sure to tick the Generate an access key for each user box:
Once confirmed, you’ll need to copy your Access Key ID and Secret Access Key for use later on, before clicking Close at the bottom:

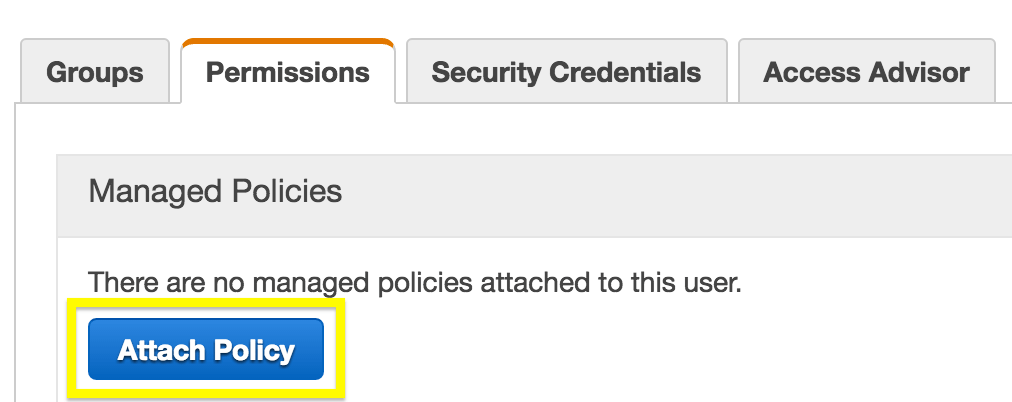
Next, we need to set some user permissions. Head back to the Users tab, click on your username, then the Permissions tab, and finally the Attach Policy button:
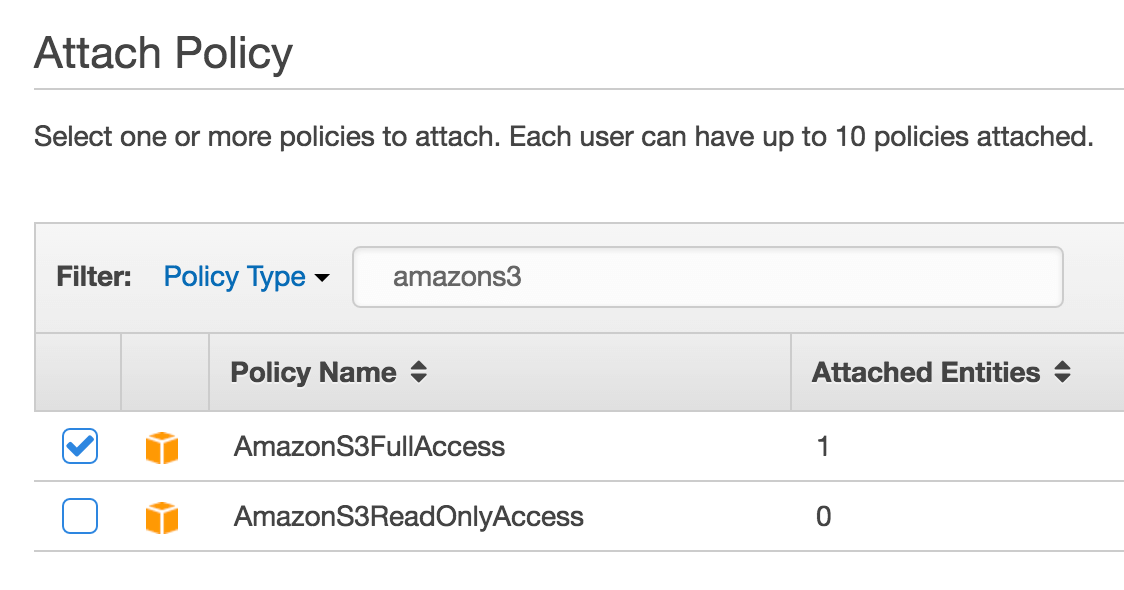
Use the filter box (or scroll down) to find AmazonS3FullAccess within the list of permission settings, select the checkbox, then click Attach Policy in the bottom right hand corner:
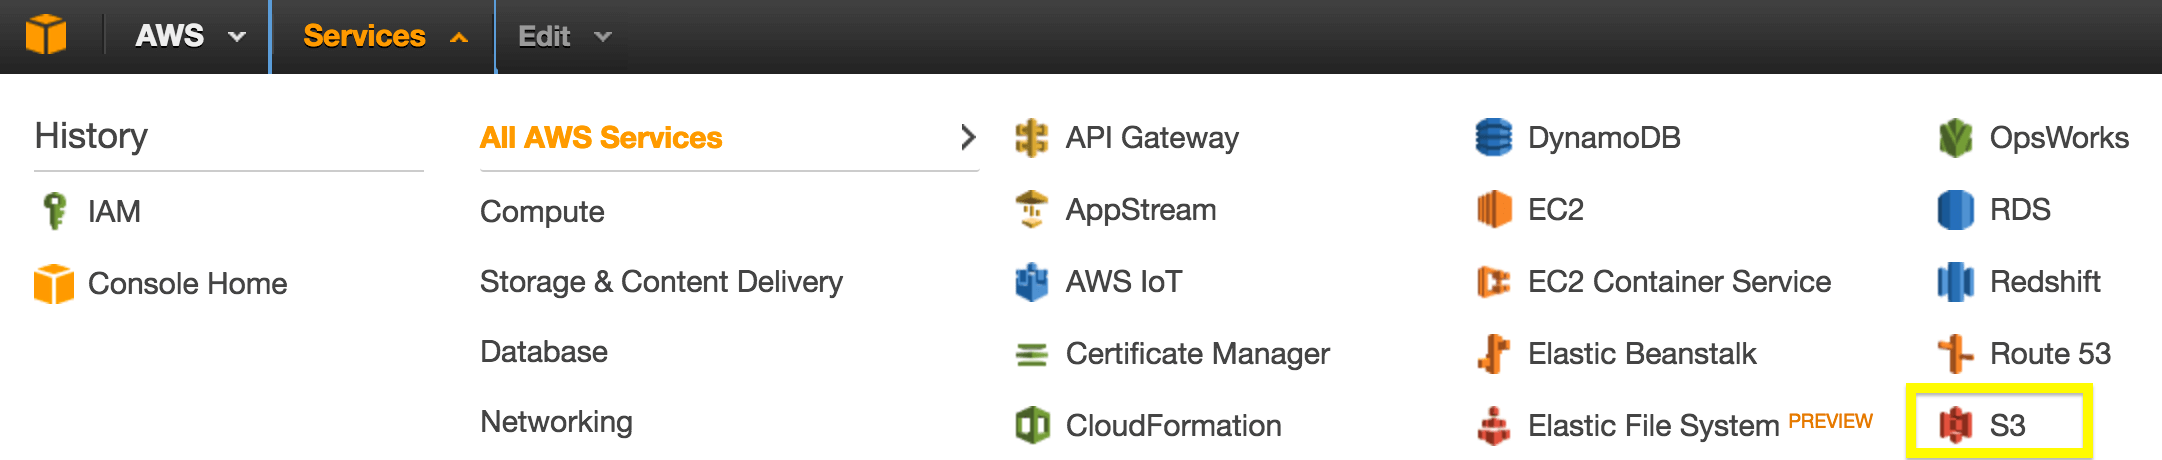
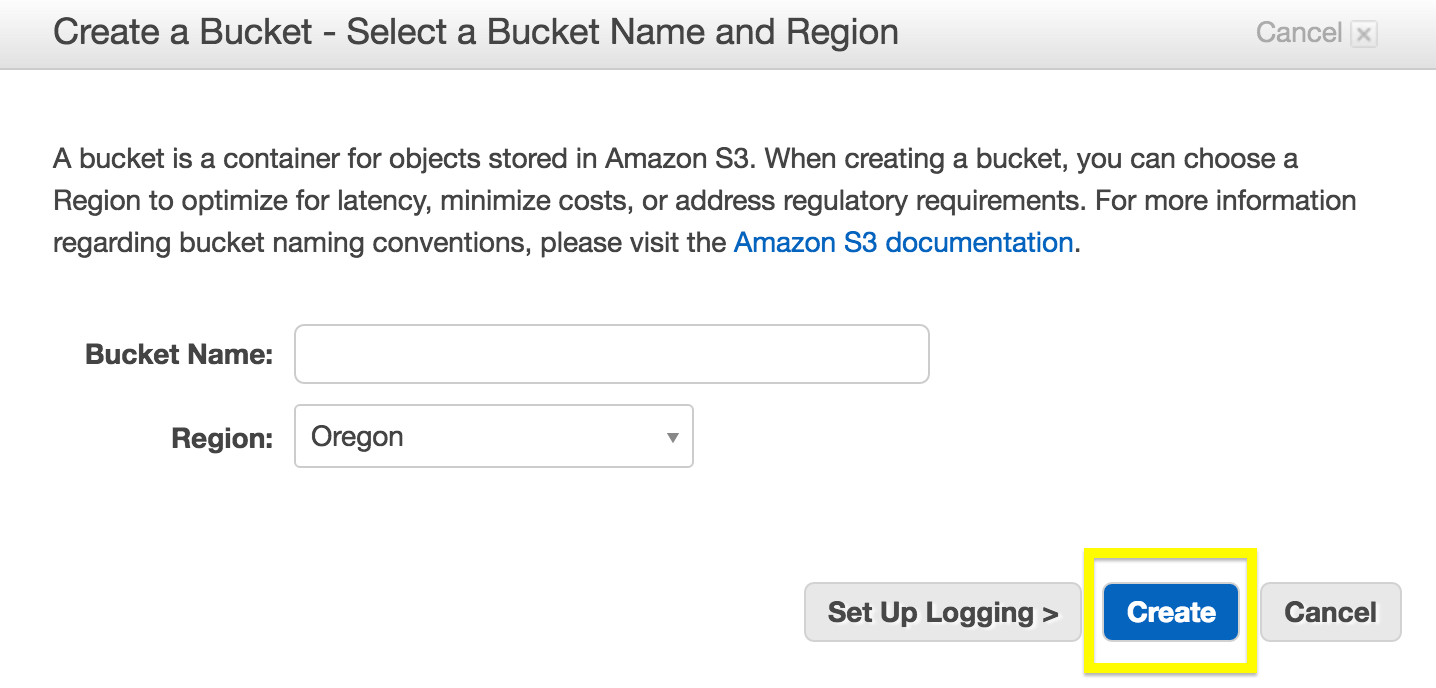
Next up, we need to create a folder (or ‘bucket’) to store files. Click the Services tab at the top of the screen, hover over All AWS Services, and click S3:
On the next screen, click Create Bucket, then enter a name and choose a region (i.e. the server where your files will be held), before clicking Create:
Now lets tackle the final step – configuring the S3 extension.
Configuring the Sell Media S3 Extension
Once your account is setup, you’ll need to link your Amazon account to your Sell Media plugin. Navigate to Sell Media > Settings in your WordPress dashboard, and open the Misc tab:
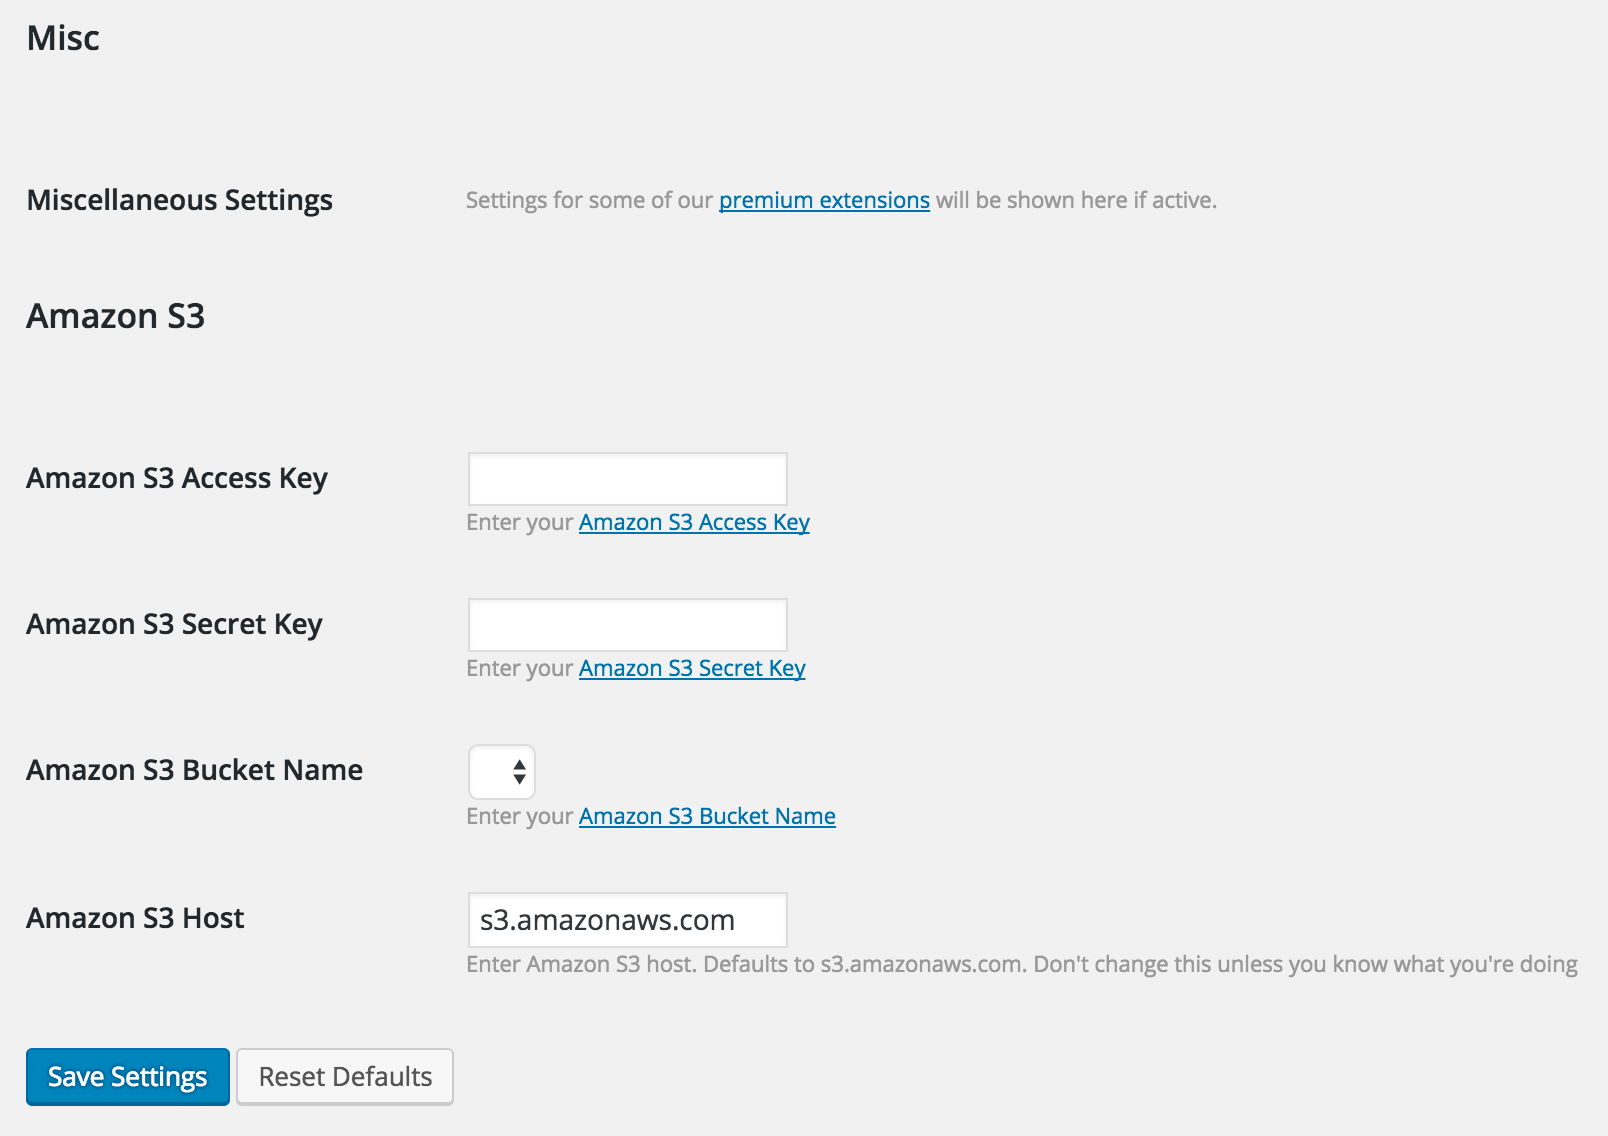
Here, you’ll need to enter the user Access Key and Secret Key you copied earlier into the relevant fields, along with correct bucket to store your uploads.
Once you save your settings, any future uploads will be stored in your Amazon S3 account!
Conclusion
Cloud-based hosting is a great option for storing your large files on a dedicated server. Ultimately, the speed and security benefits you gain are passed on to the customer – and if the experience as a whole is pleasant for the end user, it could mean increased sales.
Using Amazon S3 may seem convoluted, but with our guide and the Sell Media S3 extension, you’ll be up and running in no time. Let’s recap the steps you need to take:
- Download and install the Sell Media plugin and the Sell Media S3 extension.
- Sign up to the Amazon S3 service, add a user, and create an S3 bucket to store your content.
- Configure the settings within Sell Media to link the plugin to your Amazon S3 account.
If you have any questions or comments about the setup process, please don’t hesitate to get in touch via the comments section below!
Leave a Reply