
Stock photography can be a very lucrative business, especially when multiple photographers pull together to form a stock photography agency. However, creating a site that runs smoothly and headache-free can be time-consuming – and if you’re not careful, potentially fraught with issues.
Fortunately, we’re on the case! By combining our Stock Photography theme, Sell Media plugin, and Sell Media Commissions extension, you’ll have almost everything you need to start selling stock photography online – without the hassle.
With the above in mind, in this post we’ll start by exploring what you need to create a stock photography agency website before giving you a step-by-step guide to installing and setting up your WordPress stock photography website.

What You’ll Need to Create a Stock Photography Agency Website
Simply put, you’ll need our three tools:
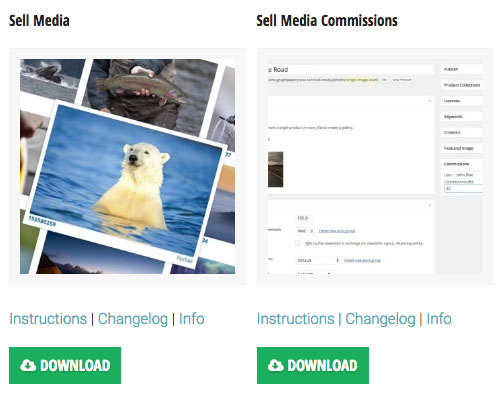
- The Sell Media plugin
- The Sell Media Commissions extension
- The Stock Photography theme
We’ve already introduced the Sell Media plugin in a previous post, but what about the others?
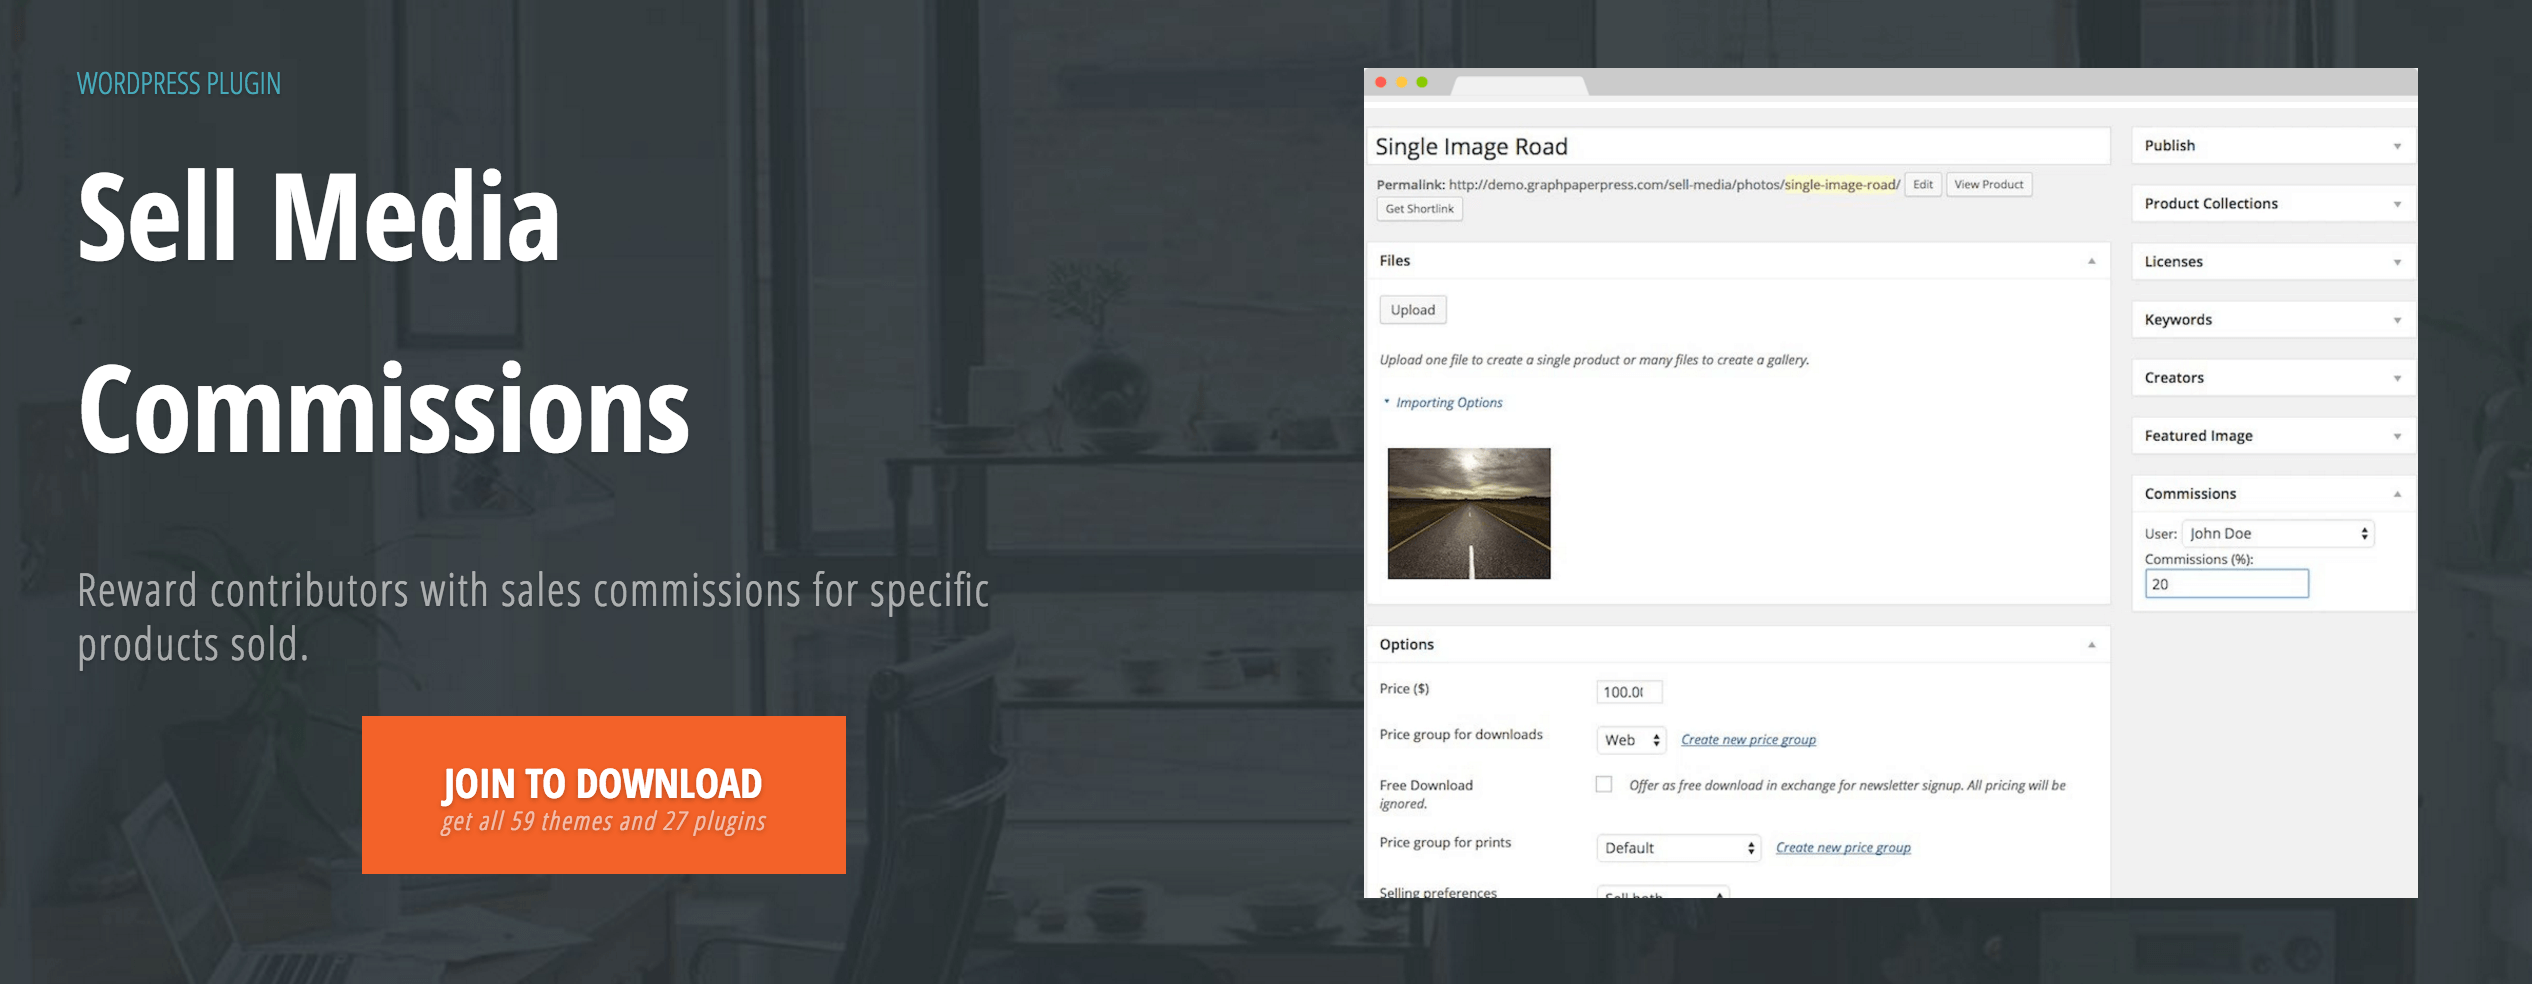
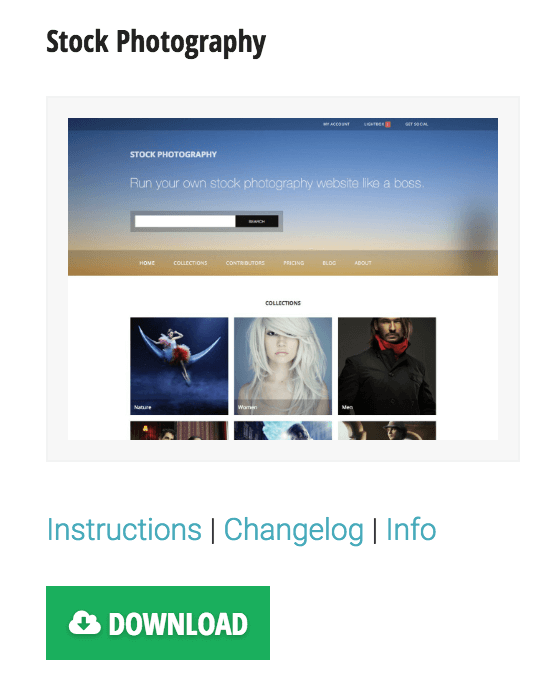
Our Sell Media Commissions extension enables you to pay contributors a sales commission for any specified products direct from the WordPress dashboard, and our Stock Photography theme knits everything together. It integrates beautifully with both the Sell Media plugin and its extension, and enables you to create slideshows and galleries for showcasing your photography:
 Let’s take things one thing at a time though, and start by installing the Stock Photography theme on your WordPress website.
Installing the Stock Photography Theme
Before you start, you’ll need a valid Graph Paper Press subscription. Once you’ve made your purchase, the Stock Photography theme can be downloaded as a ZIP file from your Graph Paper Press dashboard:
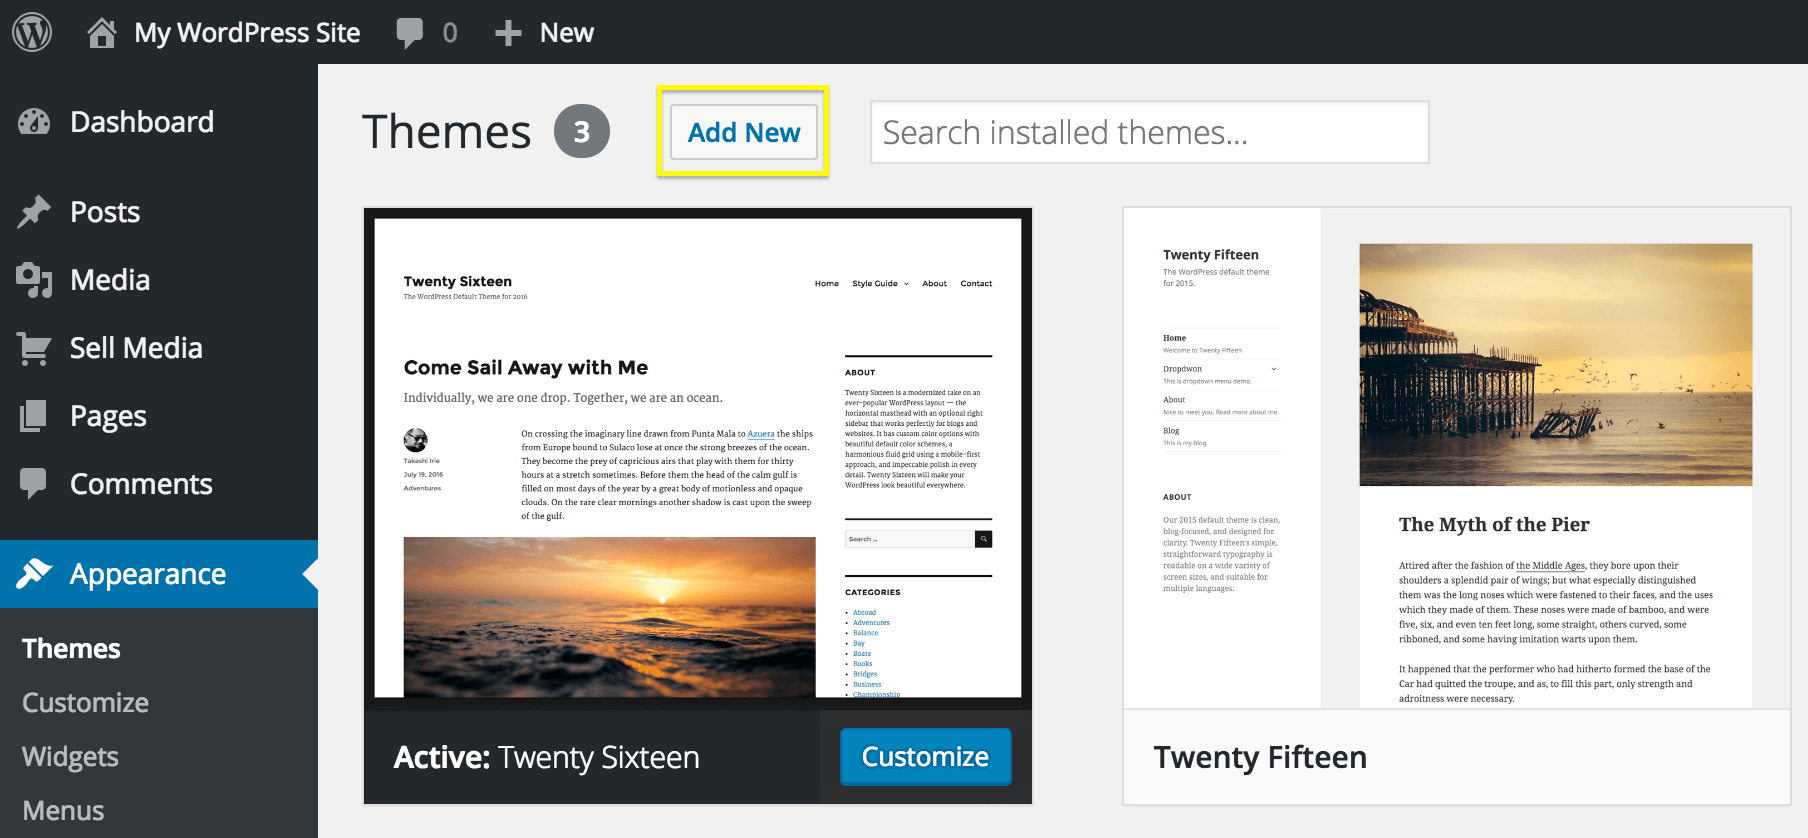
The installation will be familiar if you’ve carried out this process before, but for the sake of completeness, let’s quickly go through the steps. To start, you’ll need to navigate to Appearance > Themes on your WordPress dashboard, then click Add New at the top:
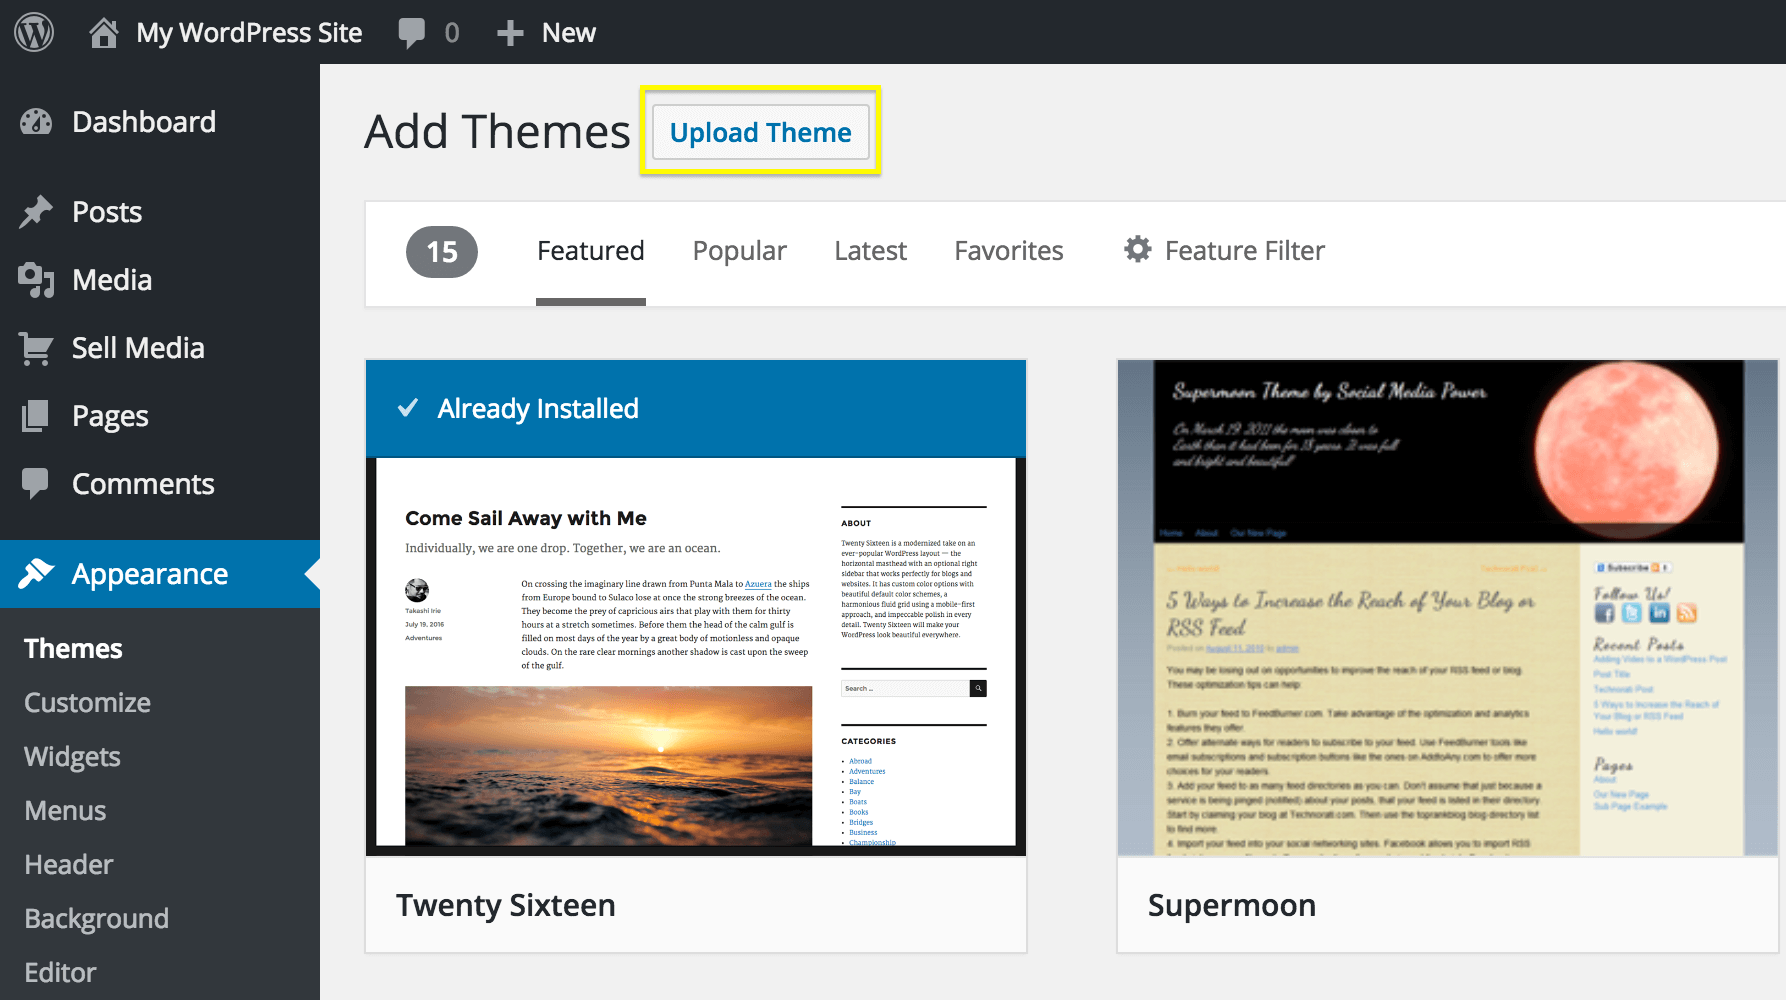
From the next screen, click the Upload Theme button…
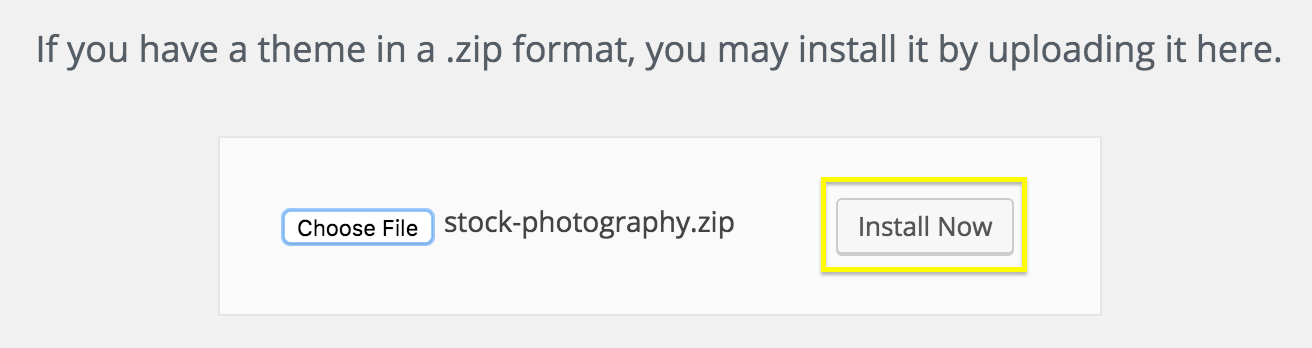
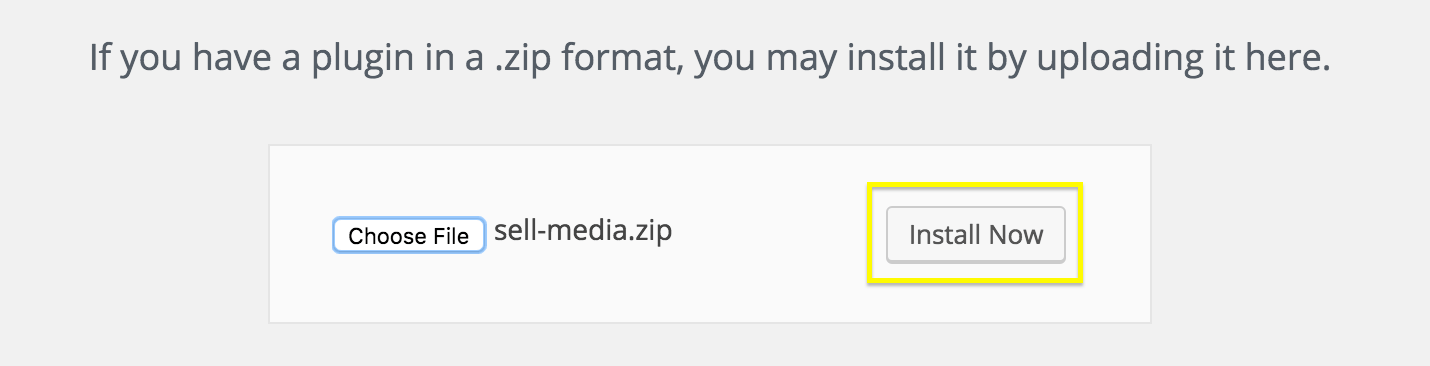
…and in the dialog that appears, choose your file and click Install Now:
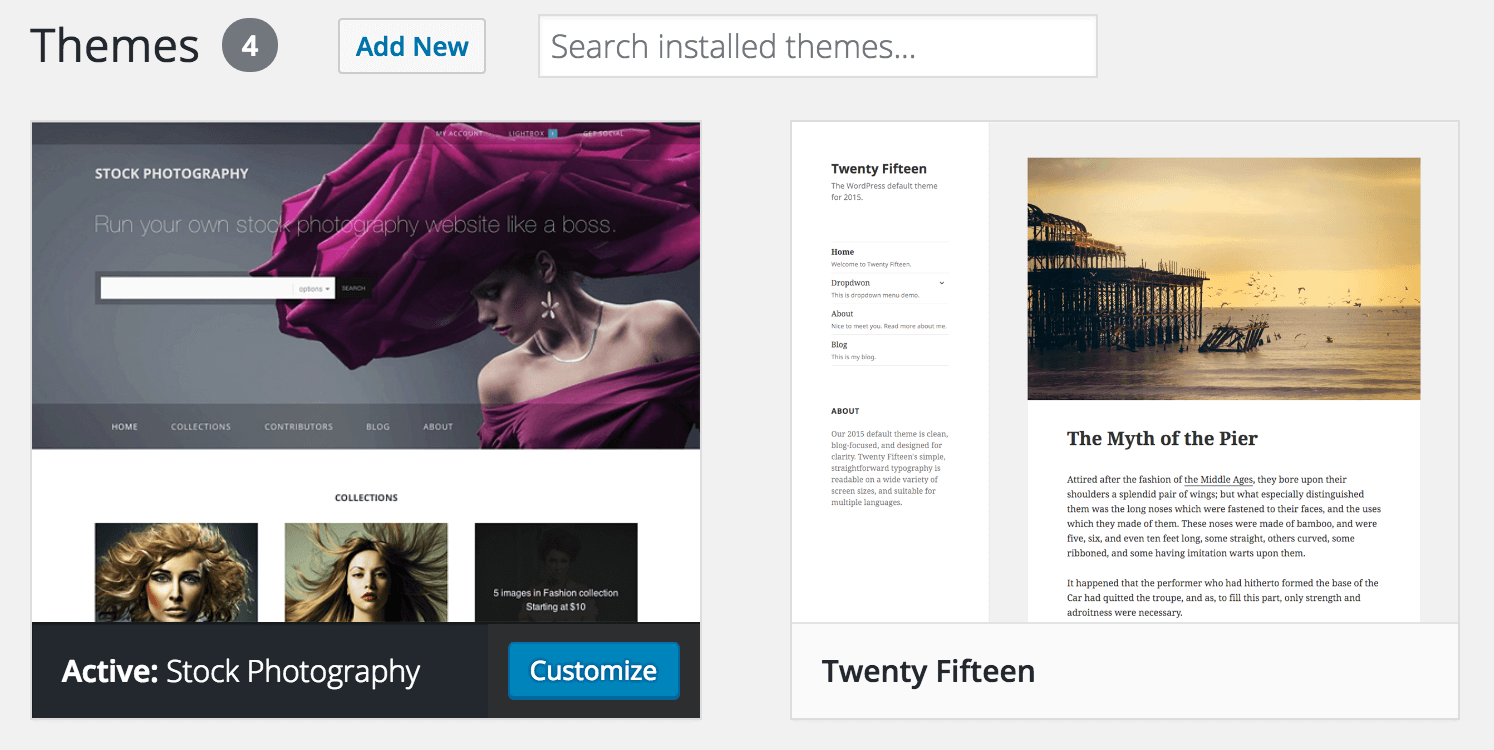
Once installed, click Activate from the next screen, and the Stock Photography theme will be fully installed:
The theme comes with five page templates – each having a specific role to play on your site – and you’ll want to create a new page for each one to harness all of the theme’s functionality:
- Default: The default page template.
- Blog: Collates all of your posts into one page.
- Collections: Displays all of your Sell Media collections on one page.
- Contributors: Showcases all users marked as a Contributor on their profile page.
- Dashboard: The customer account page, where they can view their purchases and profile information.
Now you’ve installed the Stock Photography theme, let’s look at setting up your site’s contributors in WordPress.
Setting Up Contributors Within WordPress
Setting up contributors takes place within your WordPress dashboard. First of all, navigate to Users > Add New, where you’ll come to the Add New User screen:
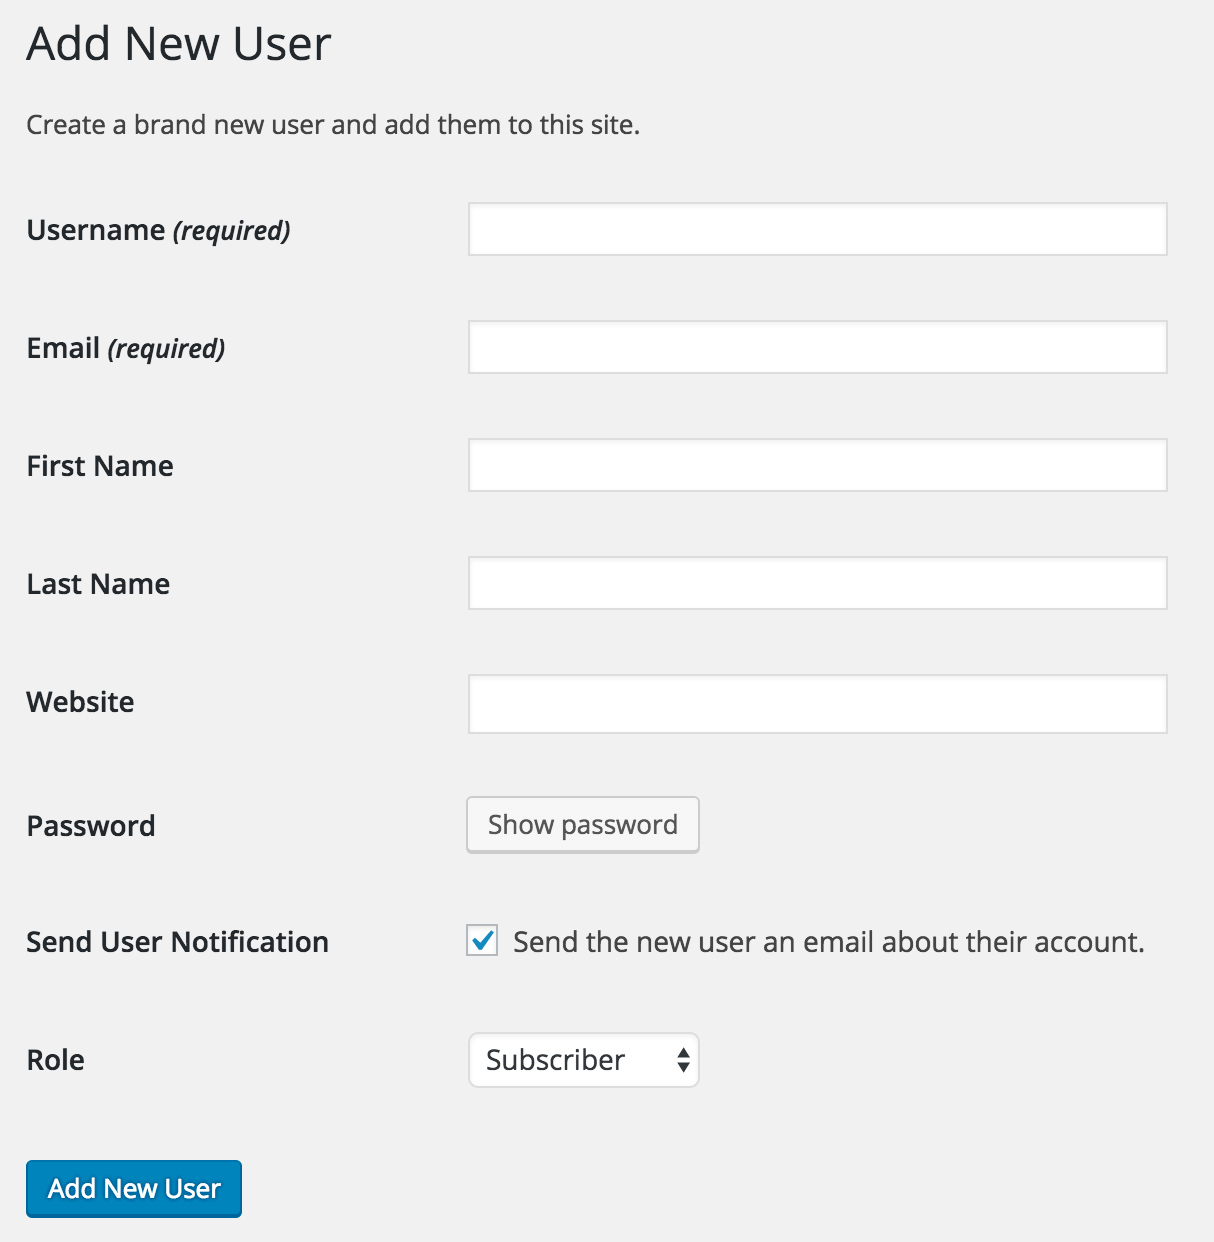
The fields here are pretty self-explanatory – you’ll need to set a username and email, along with a password, and decide whether to send the new user an email confirmation of account setup. The crucial setting is under the Role drop-down box – you’ll need to select Contributor before clicking Add New User to save your settings:
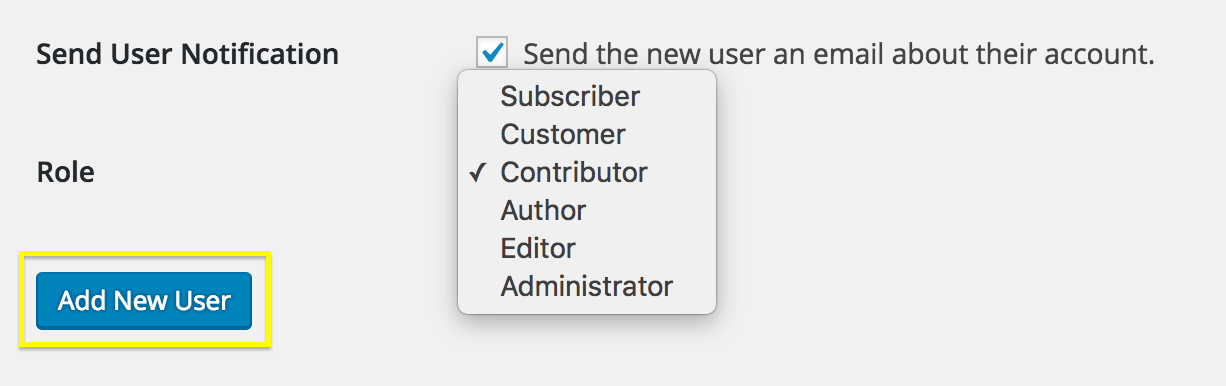
This enables the user to write and edit their own posts, but not publish them – keeping that control firmly with your admins.
Let’s now take a look at the final step: installing and setting up both the Sell Media plugin and Commissions extension.
Installing the Sell Media Plugin and Commissions Extension
Installing the Sell Media plugin and Commissions extension follows nearly the same process as installing themes. Head back to your Graph Paper Press dashboard, and download the Sell Media plugin and Commissions extension:
Next, you’ll need to navigate to Plugins > Add New and click Upload Plugin at the top of the screen, where you’ll again see a dialog to choose your ZIP file, before clicking Install Now:
Once prompted, click Activate, follow the same process here for the Commissions extension, and you’re almost finished:

Finally, you’ll need to add user commission rates. To do so, head to any product edit page from the Sell Media tab on your WordPress dashboard, and scroll down to find the Commissions meta box:
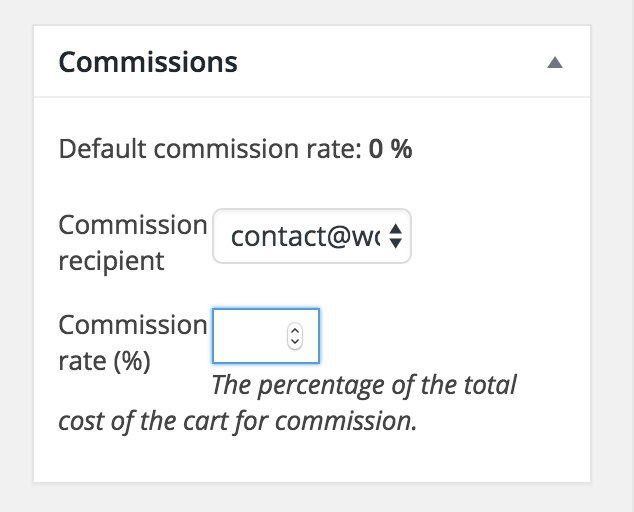
Here, you simply select your contributor and set an appropriate commissions rate as a percentage of the total cart cost. Once a purchase has been made, you can see all of your current commissions by navigating to Sell Media > Commissions on your WordPress dashboard.
Conclusion
Setting up and organizing a stock photography agency website with multiple contributors could cause you a lot of pain, but with the right tools to hand, there should be no reason to break out the aspirin. Furthermore, with our Stock Photography theme, Sell Media plugin, and Commissions extension, we’re certain you’ll be up and running in no time.
Let’s recap the steps you’ll need to take:
- Download, install, and set up the Stock Photography theme.
- Create your contributors in the WordPress dashboard.
- Download and install the Sell Media plugin and Commissions extension, setting them up as necessary.
Do you have any questions about setting up a multi-contributor stock photography agency website? Ask away in the comments section below!
Leave a Reply