

Selling your photography at one size is all well and good, but if you can’t anticipate how your work will be used, it makes sense to offer up different sizes at various price points.
By providing what’s essentially a tiered pricing model, you’ll be seen as catering to your customers’ varied needs, and you’ll also appeal to those who can’t (or won’t) splash out on the full-sized image. It all stands to potentially increase your profits.
Our Sell Media plugin can make this process hassle-free. Once installed, you’ll be able to create price groups directly from the WordPress dashboard, and add them to your Sell Media products, all in just a few clicks.
In this post, we’ll firstly discuss what price groups are and why you’d use them, before running through the step by step instructions for implementing them on your WordPress website.
Why You Should Use Price Groups
If a customer has only one size option to choose from when purchasing images, there’s a decent chance that the option available won’t suit their specific needs. At best this is an inconvenience and negatively impacts on the customers’ experience; at worst, it will frustrate them to the point of abandoning their purchase.
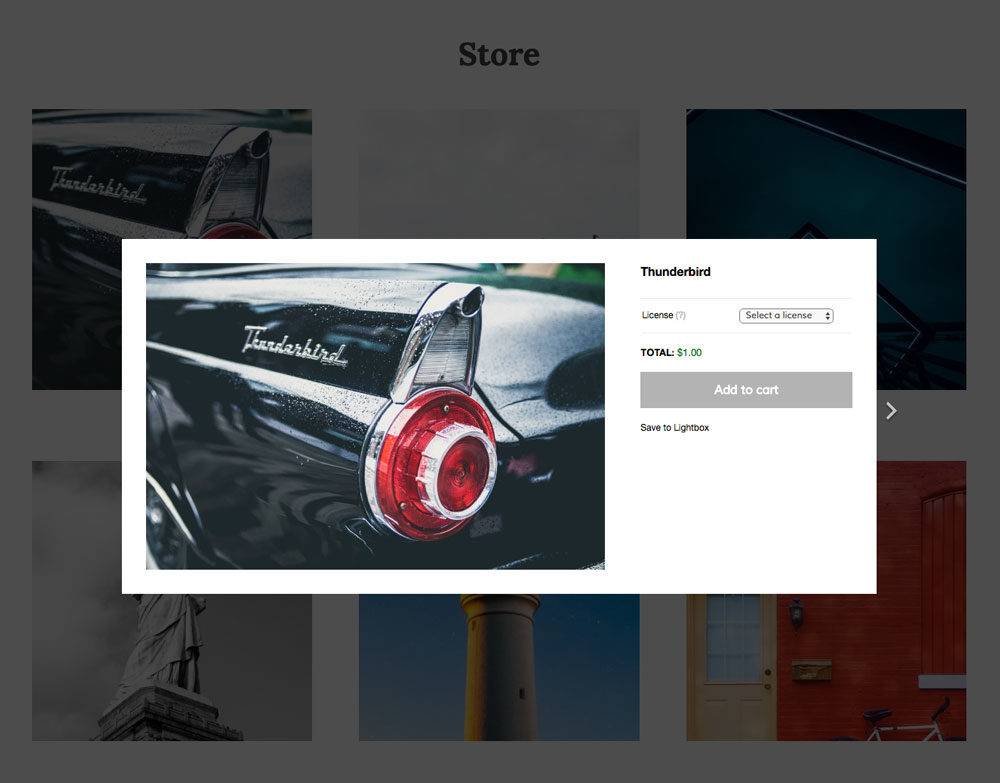
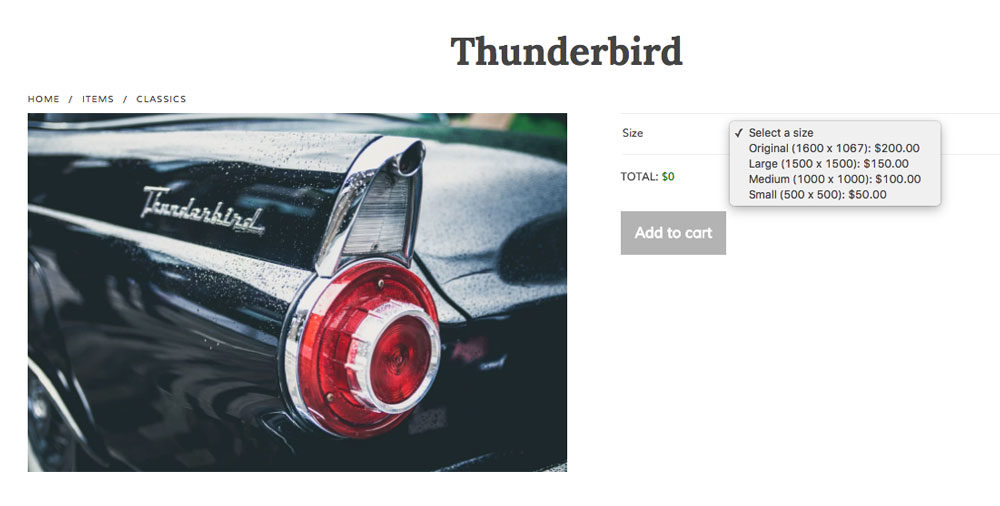
Price groups enable you to offer your work at various price points and sizes based on their potential use, without having to create several different product pages for each instance. For a real world example, check this out:

Here, you can see the image on the left and the differing price groups on the right. It gives the customer the opportunity to easily buy your work in a format more suited to their needs, at an appropriate price. Ultimately, it’s a win-win situation – if you can make the process as easy as possible for the buyer, it could translate into increased sales down the line.
Now we’ve discussed what price groups are, let’s take a look at how you can implement them using the Sell Media plugin.
How to Set Up Price Groups in Sell Media
First of all, you’ll need to download and install the Sell Media plugin, if you don’t already have it. Once it’s activated, you’ll see the Sell Media tab on your WordPress dashboard – so navigate to Sell Media > Settings, then to the Pricing tab.
Here you’ll see various options, including hiding the price of your original image, in case you’d like to rely solely on price groups. For now, the section we’re looking for is Image Price Groups:
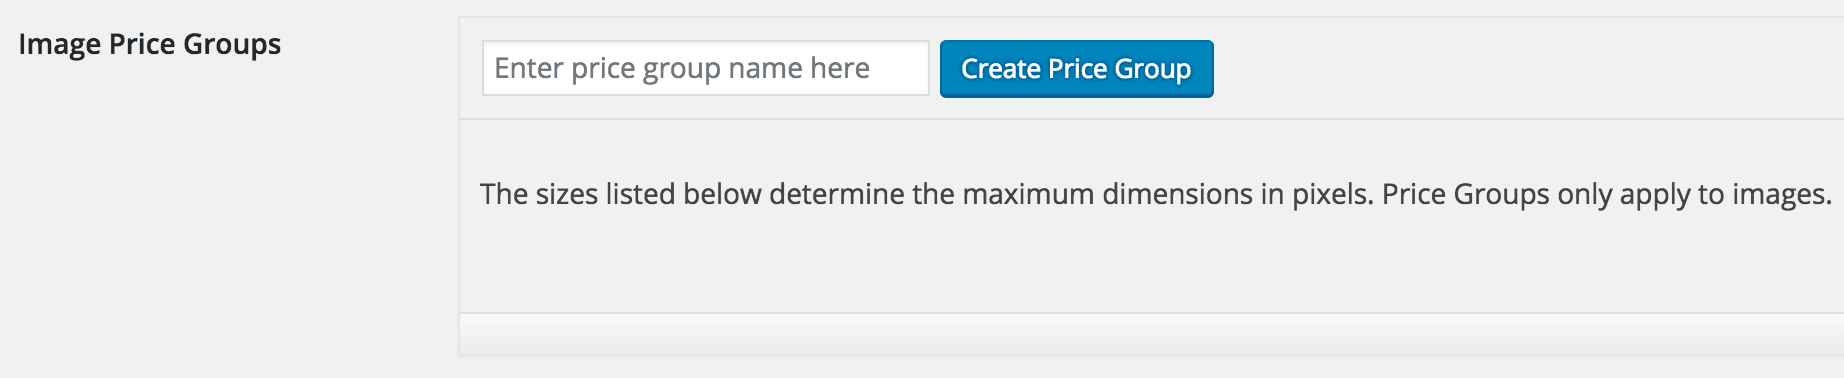

From here, enter a name for your new price group (we suggest something recognizable, as you’ll potentially be setting many up) and click Create Price Group. Then enter your new image dimensions, followed by the price you’d like to charge. Click the Add New Price button to add further entries. In our example, we’ve created three image size options:
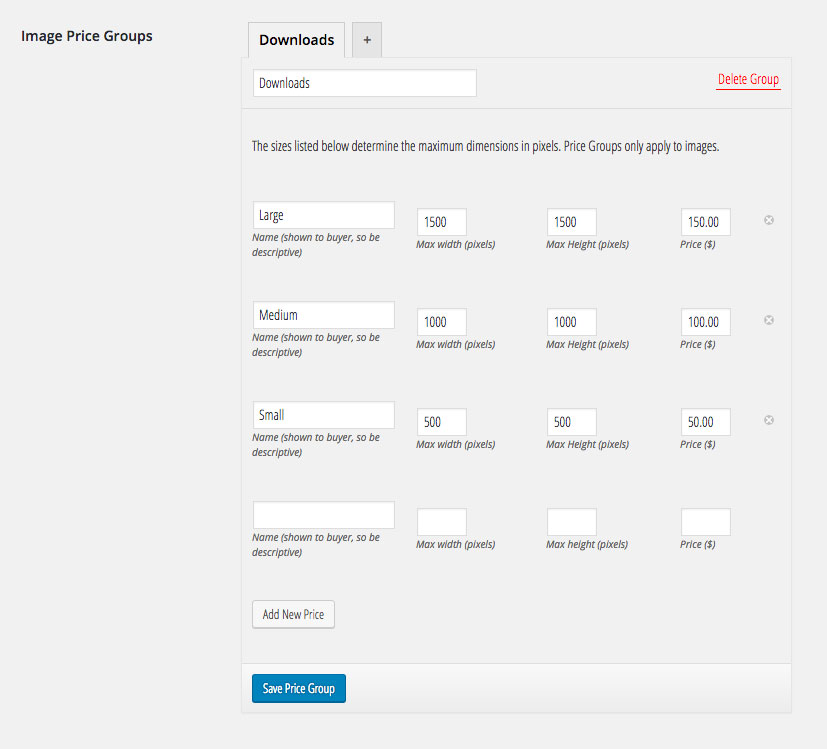

Sell Media will automatically resize the original image at the point of download to the dimensions you’ve set. If you offer a size larger than your original, that option won’t appear to customers.
Once you’ve added the desired number of price groups, click Save Price Group, then Save Settings. The final step is to assign them to your products and check everything on your website’s front end.
Navigate to Sell Media > All Products on your WordPress dashboard and select the appropriate product from the list. From the page that displays, scroll down and find the Options meta box:


You should already have a price set, so let’s focus on the Price group for downloads drop-down menu. Click None, and select the price group you just created:


Click Update from the Publish meta box and navigate to the product page in question. You’ll see the price groups displayed in a drop-down box on the front end, ready for purchase:

Conclusion
Offering customers an easy way to purchase your images in different sizes makes smart business sense. A tiered pricing model enables users of all budgets to purchase your work – and offering differing sizes means users can buy a product that’s more likely to suit their requirements, rather than shelling out for an image that’s unsuitable.
Using the Sell Media plugin, creating price groups with multiple tiers is both quick and simple. Let’s recap the three-step process:
- Add the desired price group options to your Sell Media settings page.
- Assign price groups to the appropriate Sell Media products.
- Check that your price groups appear alongside each product on your website’s front end.
Do you have any questions about setting price groups using Sell Media? Let’s hear them in the comments section below!