When it comes to presenting photography on your website, possessing great imagery is only half the battle. The other half consists of presenting those images in a way that is both attractive and professional.
Thankfully, WordPress’ native photo gallery builder is able to organize and display a range of images with relative ease. Even better, you can extend WordPress’ default functionality to present your photos in an even better light.
With the above in mind, this post will walk you through the process of creating galleries using WordPress’ built-in photo gallery builder, as well as how to accentuate your gallery using WordPress plugins.
How to Create WordPress Photo Galleries
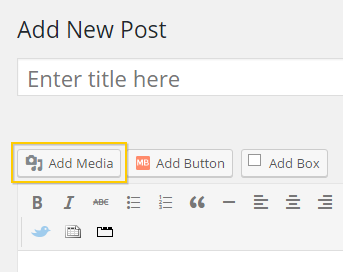
First of all, from the WordPress back end, you will need to navigate to the page or post that you want your gallery to display on, and click the Add Media button, located just above the visual editor:
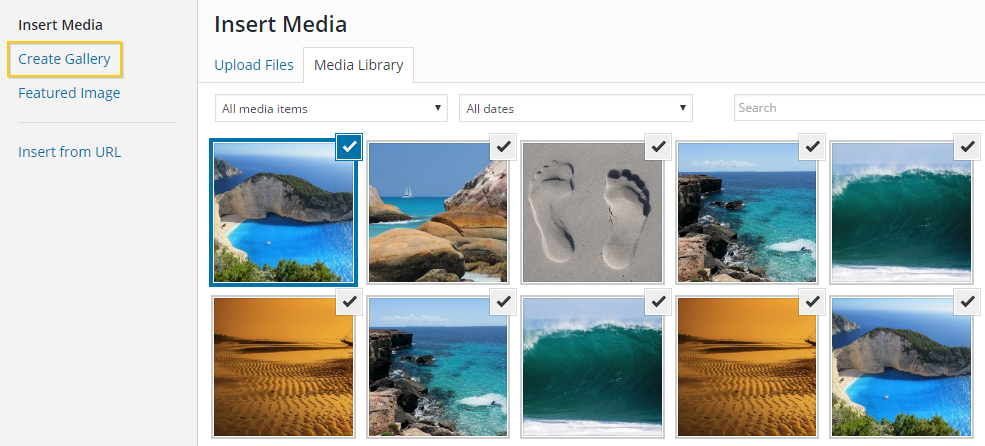
This opens the WordPress media uploader, where you can upload and select the images you wish to be included in your gallery.
Once you are happy with your selection, click Create Gallery:
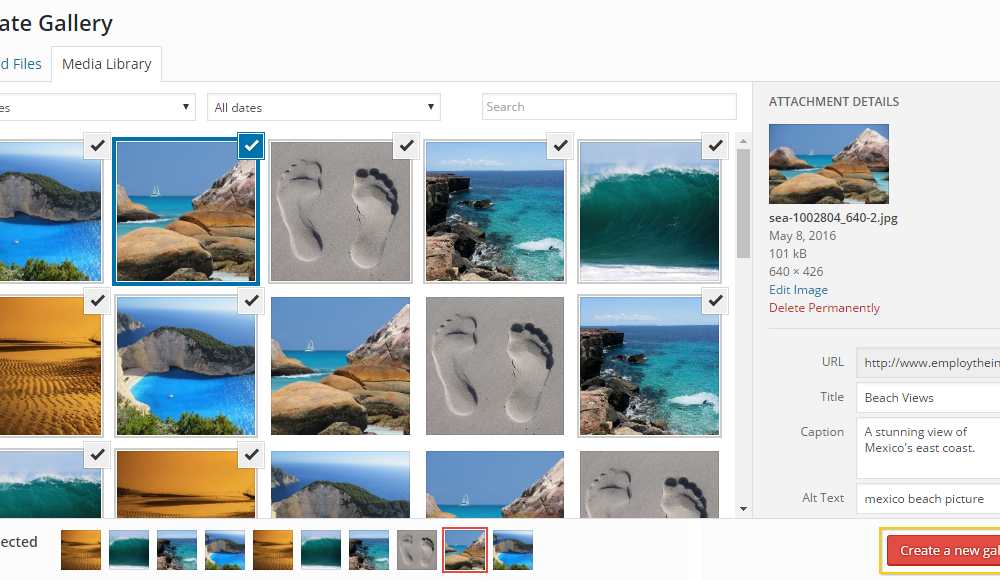
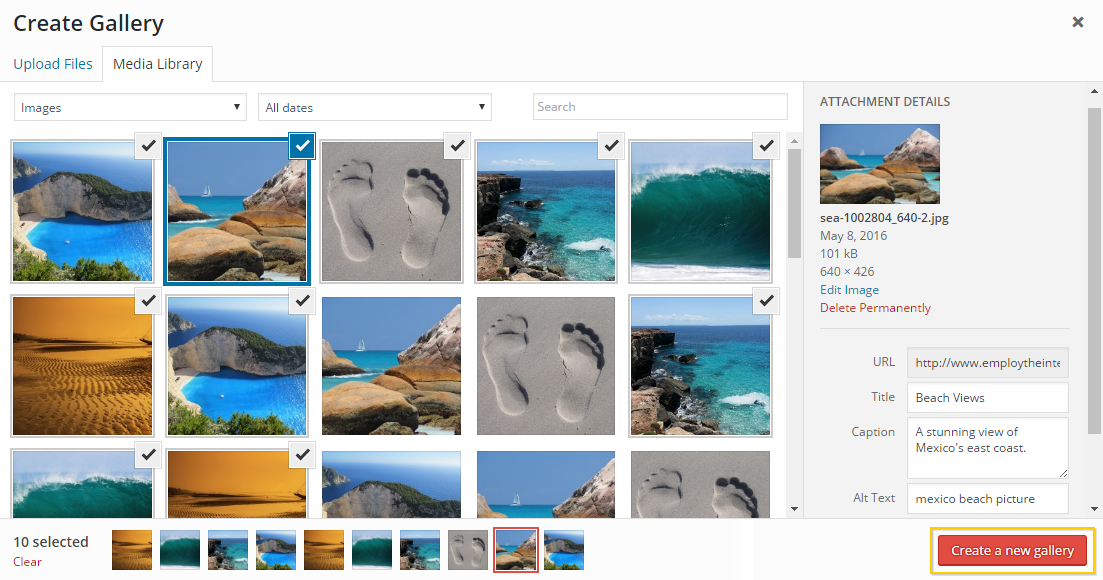
WordPress will then allow you to individually select each image for inclusion in your gallery.
By selecting each image, you can add additional information such as a title, a caption, and ‘alt’ text. These configurations aren’t mandatory, but they will help visitors and search engines to identify your images.
Next, click the Create a new gallery button located at the bottom right of the media uploader:
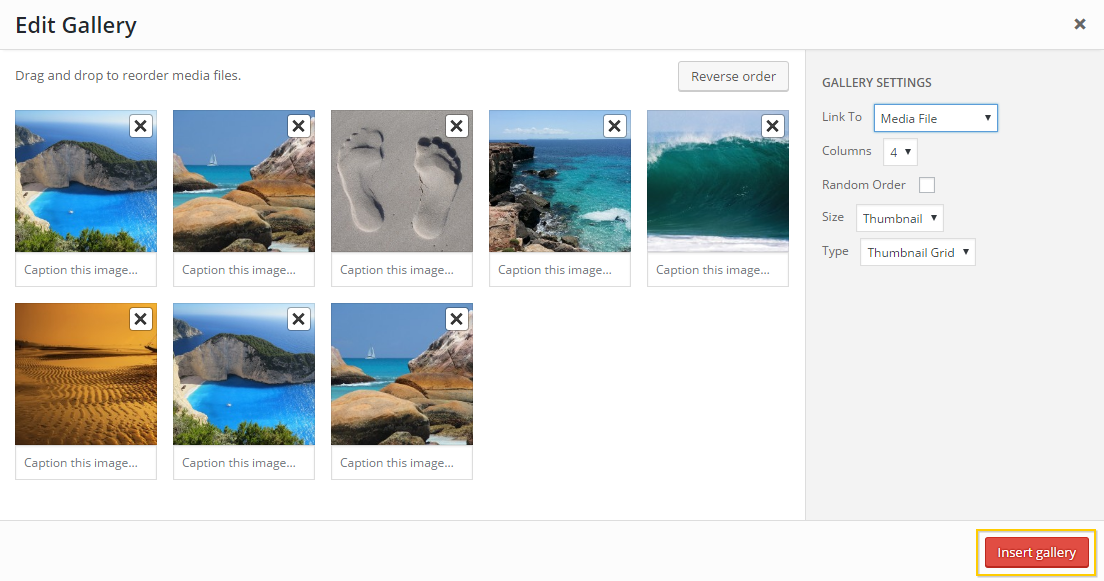
The next section is the final one, and it gives you more customization options, including the ability to reorder your images by dragging and dropping them into place. You can also remove images and add captions, if you didn’t already do so previously:
On the right hand side of the screen, you’ll notice further gallery settings. These configurations let you decide where each image links to, the amount of columns in your gallery, the size of the images, and the type of gallery you want.
To finish the process, click the Insert gallery button. This will close the media uploader, and insert the gallery into your WordPress page.
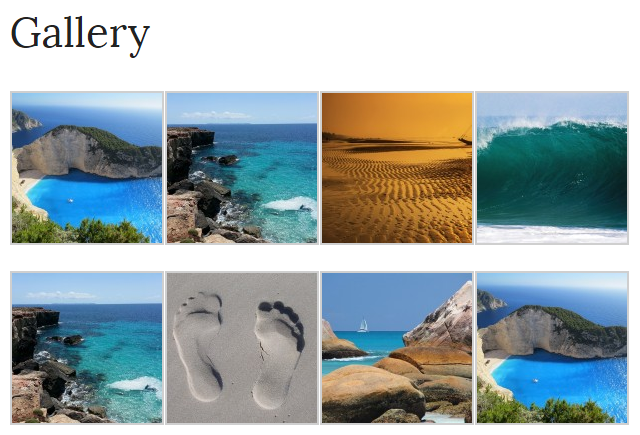
Before publishing, make sure to preview your gallery by clicking on the Preview button, where you’ll see an end result looking something like this:
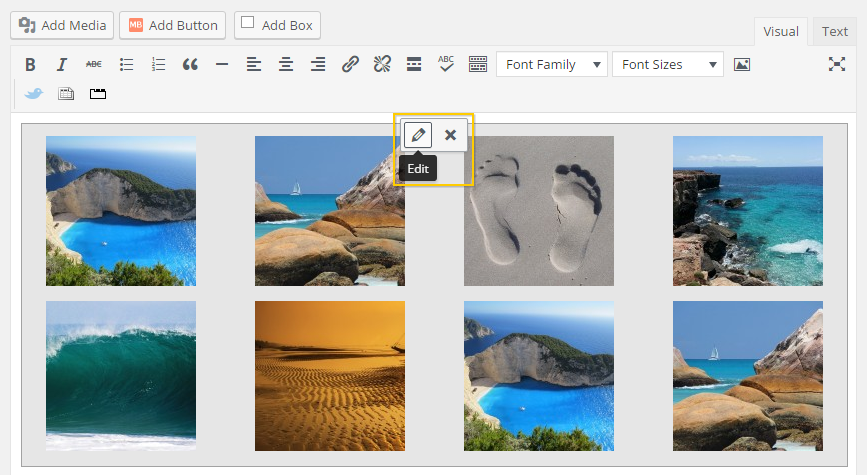
If you need to make some changes, you can always go back to your editor and click the pencil icon, which reopens the media uploader:
How to Beautify Your WordPress Photo Gallery
As demonstrated above, WordPress does a fine job of putting your photo gallery together quickly and simply. However, if you’d like to go the extra mile in displaying your gallery, take a look at the following options.
Lightboxes
The tried and tested lightbox feature is a great way to let visitors bring each photo center stage.
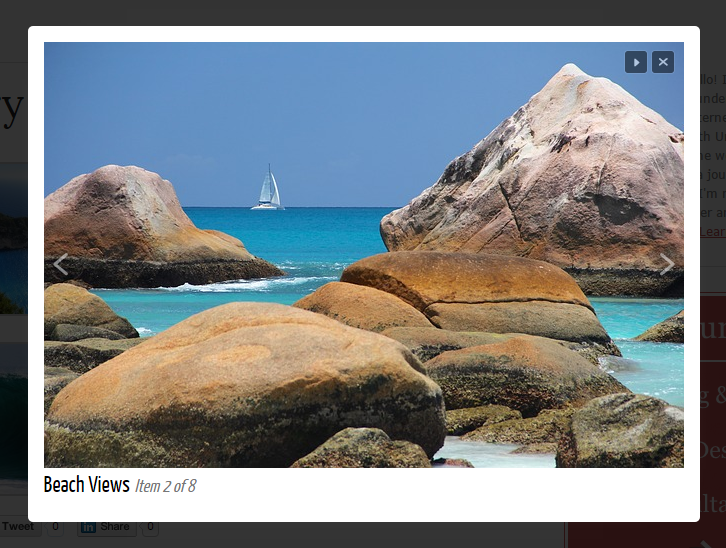
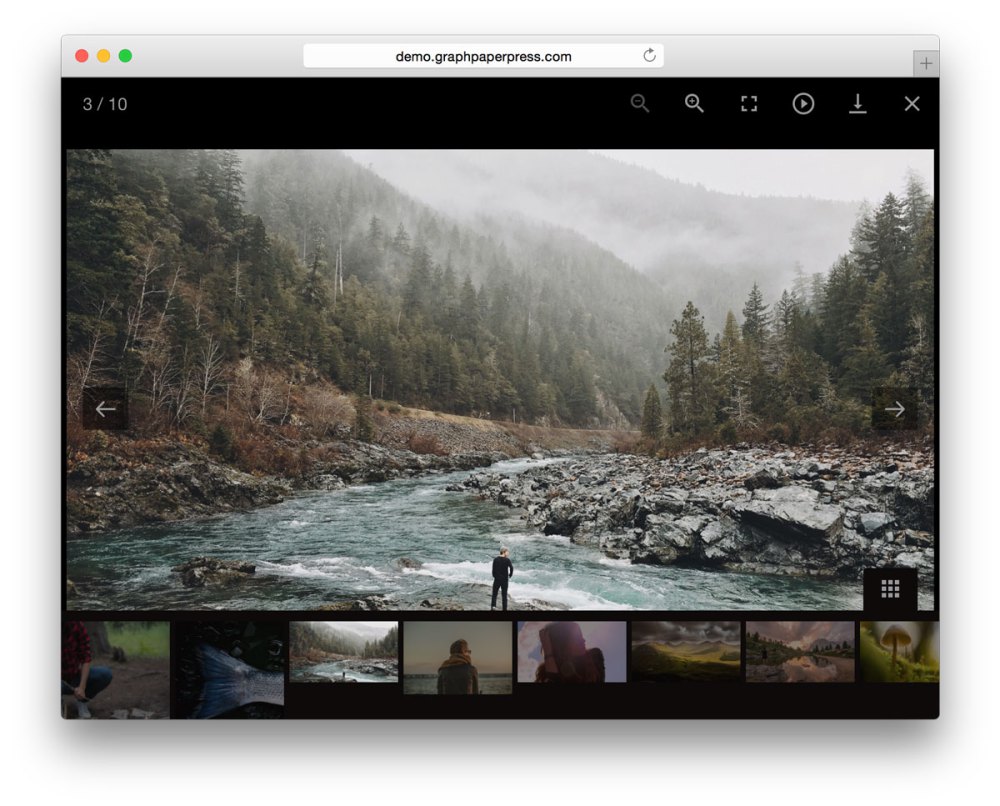
By implementing a lightbox feature, visitors can click on individual photos in your gallery to open it up in its own window. Visitors can then cycle through the gallery within the lightbox:
There are many free WordPress lightbox plugins to choose from, with the best being listed right here on our blog.
Furthermore, lightbox functionality comes built-in with all our themes released from 2016 onwards, including Photolog, Optics, and Sider. Functionality includes full-width slideshow galleries with optional thumbnails, autoplay, and zoom effects.
Here it is in action:
Slideshows
Although photo galleries are a great way to display photography, they may not suit your particular layout. That’s where a well-designed slideshow comes in, and WordPress has the ability to produce slideshows without the help of plugins.
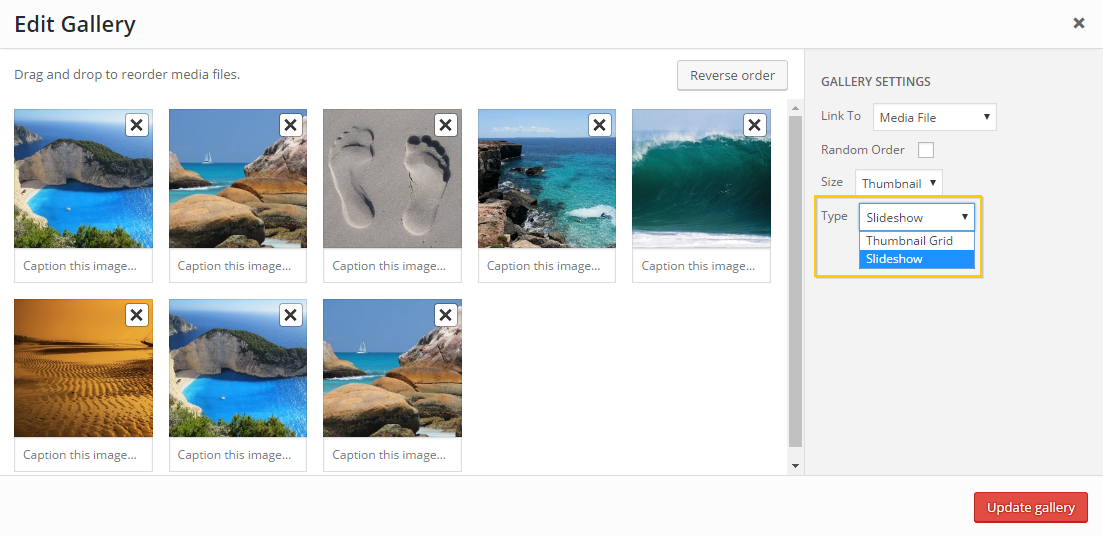
To enable it, go back to the Edit Gallery screen, and select Slideshow from the Type dropdown:
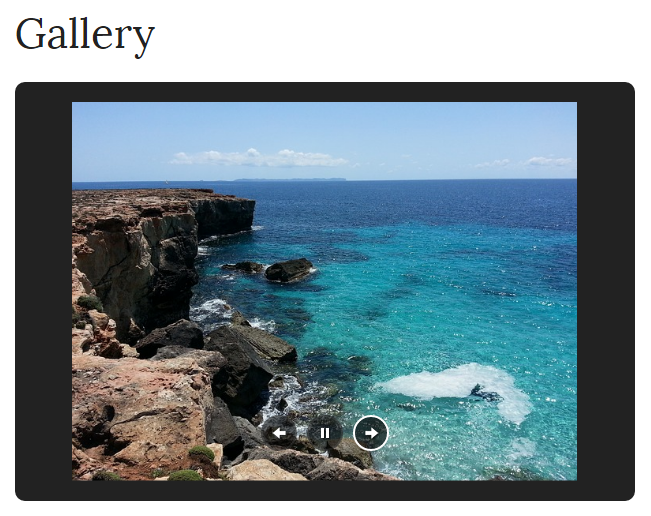
This simple change converts your gallery into a slideshow, saving you space on your post or page.
As a result, your images will be displayed like this:
Alongside WordPress’ bundled lightbox functionality, we also offer our own slideshow plugin for anybody who purchases a theme released in 2016 or later.
Sell Media
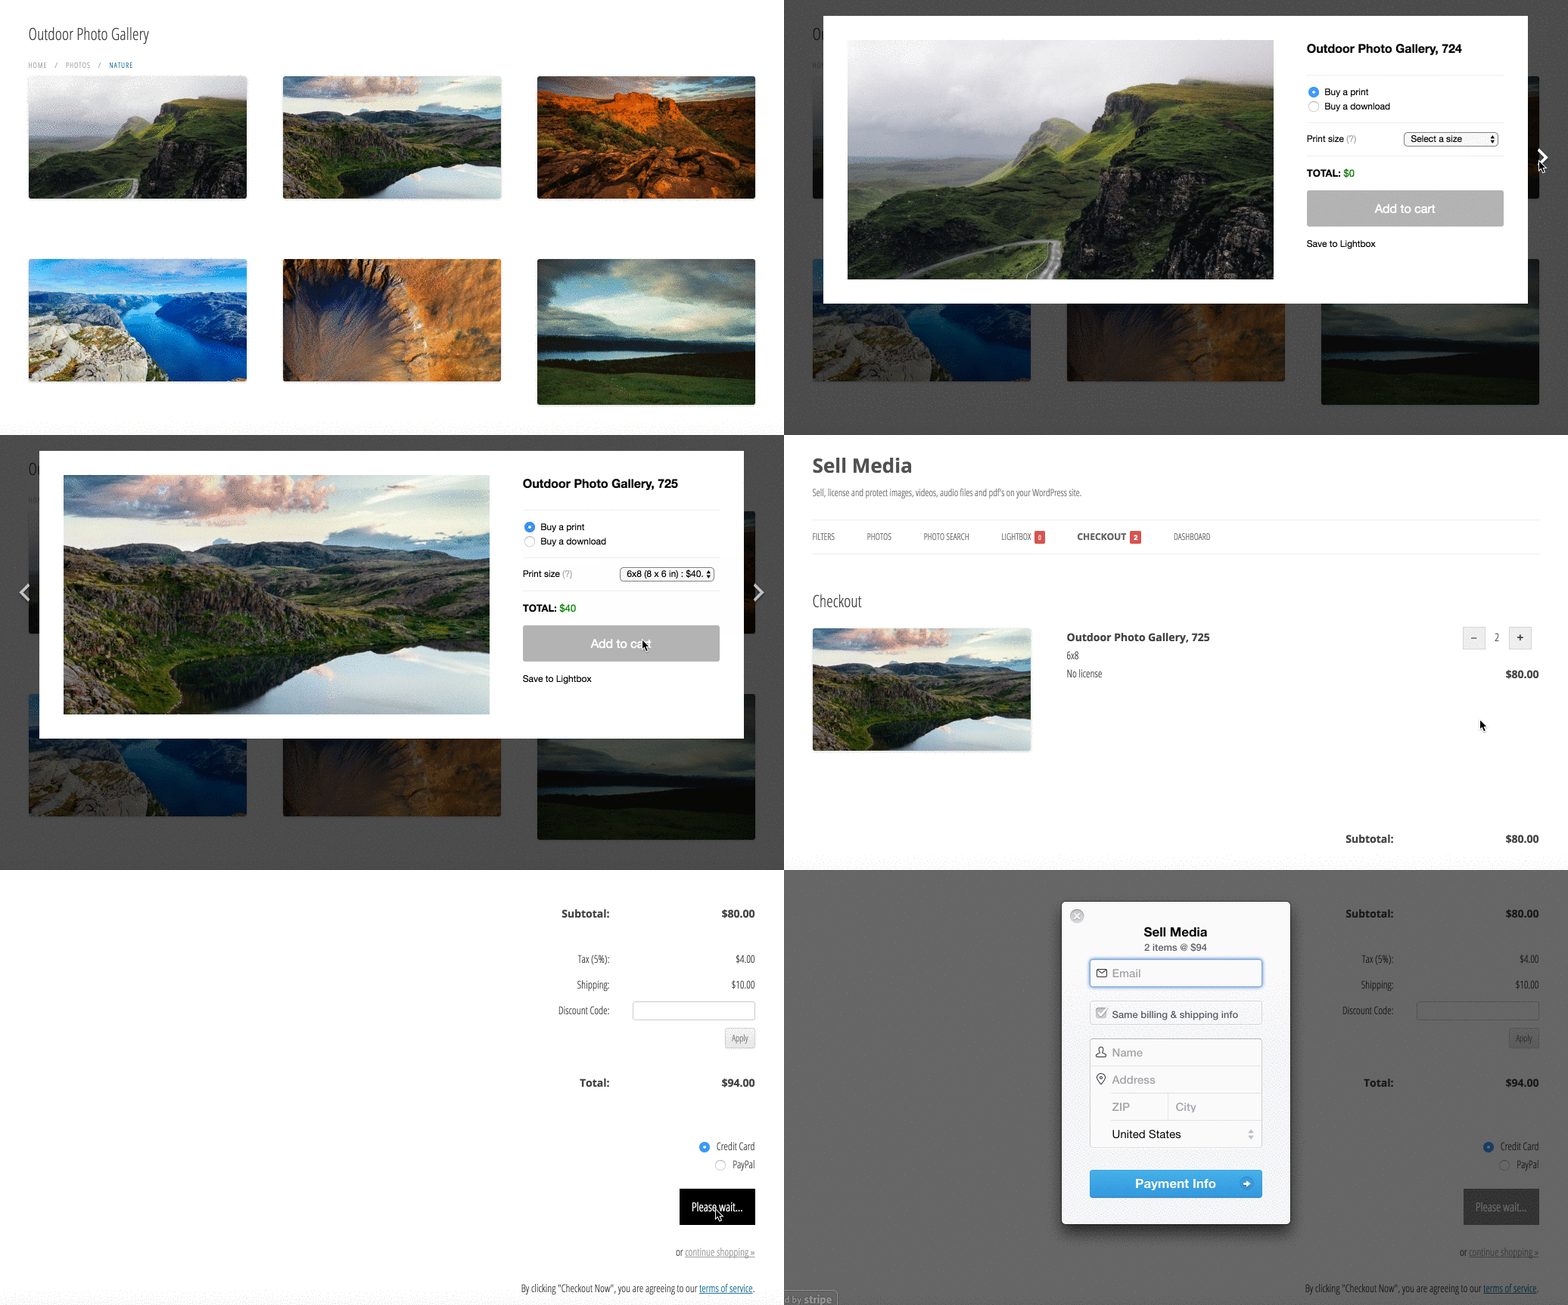
Finally, we serve up even more gallery garnishing features through our Sell Media plugin.
Sell Media rivals other plugins such as WooCommerce, which help you sell photography, prints, and stock online.
On top of making it easy to take payments for digital downloads, Sell Media has its own lightbox feature, plus a built-in photo gallery builder, which differs in design from WordPress’ native gallery. You can also password protect certain galleries, to save them for the eyes of paying members only.
The benefit here lies in having your gallery and lightbox functionality coming from the same source, rather than from independent sources. This ensures design consistency throughout the presentation of images on your website, making it far more professional.
Conclusion
By using the above instructions to implement and beautify your WordPress photo gallery, your images will be presented with the elegance they deserve.
To achieve that elegance each time you create a gallery, follow these steps:
- Use WordPress’ native functionality to build initial galleries.
- Embellish those galleries with lightbox functionality.
- Mix it up with slideshows where applicable.
- For optimum professionalism, use Sell Media to bring it all together in a saleable package.
Do you have any of your own strategies for building and decorating your photo galleries on WordPress? Tell us about them in the comments section below!
Image credit: jarmoluk.

Leave a Reply